.png)


We'll talk about how to create your own React app from scratch. No CRA needed leveraging the power of a faster, better build tool called Snowpack.
Have you noticed that web development with frontend frameworks has become more and more complicated? Now to make a simple web app you get a big, heavy folder with a bunch of dependencies in it. You can be familiar already with tools like create-react-app that does some magic behind the scenes. Then, after some time, it gives you a barebones app that you can run. But if you want to customize it further and have more specifics, you have to eject it and deal with the configuration of Webpack on your own. Well, if you're tired of dealing with heavier and more complex bundlers in your workflow, this post is for you.
So, let's get into it!

What do we need for an app?
To make a React app from scratch, we'll need the following:
- A package manager. This lets you use several third-party packages and makes it easy to install, organize, and update them. Popular ones include npm, yarn, pnpm.
- A bundler. This allows you to write code in modular pieces and then bundle it up to use it for production. Popular ones here are webpack, Parcel or Rollup.
- A compiler. Which helps us write modern JavaScript, JSX, TypeScript and such and turn that into code that is understandable by older browsers. Best option here is Babel.
Knowing that, we can create a new directory where we'll keep all the different files needed for the application.
If you are already familiar with the type of setup required to build any kind of app that uses a package manager like npm, you know we’ll need to go through several steps like...
- Create a new folder and `cd` into it.
- Initialize npm and git with their `init` commands.
- Create an `index.html` file that React will use to render the content
- Install the necessary dependencies (Babel, Webpack, etc)
- Configure all those different tools
- Install `react` and `react-dom`
With that we'll have a fully functioning app that can run in the browser and that we can modify according to what we want to build. But honestly, that sounds like a lot of work to have a very minimal React app. We're here talking about speeding up our development process not making it more cumbersome.
Enter Snowpack
In case you aren’t familiar with Snowpack, let me give you some context. Snowpack is a newer and modern build tool for web apps. It allows faster web development by leveraging JavaScript’s native module system (ESM) to avoid extra steps. Other traditional bundlers, like Webpack or Parcel, need to bundle and rebuild chunks of your application whenever the files change during the development process. This process doesn’t take much when the changes are in CSS files. But when it comes to JS, it introduces extra time before you can see those changes in the browser.
Snowpack avoids this by serving the application unbundled during development. Every file gets built once and then cached indefinitely. When new changes get introduced, the specific file (or files) gets rebuilt while the rest remain unchanged. What that means is waiting 20-50 ms vs 2-3+ seconds for any changes to get reflected in the browser. Imagine that if you were making specific changes or debugging an app, you can go between what works and what doesn’t virtually with no pause. There will be nothing delaying your workflow once you get “in the zone”.
What’s more, in the context of creating a React app, Snowpack supports Hot Module Reloading (HMR) with Fast Refresh. With it, you could be making changes to a Timer component for instance, and the counting state will be preserved during browser updates. (Which can be useful again for live debugging purposes) With that said, let’s set up our development environment with Snowpack.
To save us several steps while creating the React app from scratch, we can make use of “Create Snowpack App”. That's a tool from the Snowpack team to set up a new app directly in the current directory. If you are familiar with “Create Next App” from Next.js, this one works very similar. You can also use official or community templates to pass along to the tool and have some additional functionalities out of the box. In this case, we’ll be starting with a bare-bones app.
For that, you can run the following command.
- Note: I'm using npm in this example but you can also use yarn or pnpm if you prefer.
Now, get inside that newly created folder and let's install React.
And with that, we have the same minimal app that we would have if we were building from scratch. The difference here is not only building it much faster but with other advantages that the Snowpack configuration provides us (more on this later on). You can run that new app now and see it running in the browser if you like. But we still have to add some components to it though.
Adding the first component.
Let's update the index.js file first.
And then, create the App.js file.
Lastly, we need to update the index.html file for it to work.
And while we're there, let's change also the title of the page.
If you run the app now, you'll see the new component we just created working correctly!
Changing the project structure
Now let's change the project layout to something looking more like an actual React app. We'll create the src and public folders. Then we'll move the relevant files to those folders. The folder structure will now look something like this...
Ok that's good. It’s now ordered like a traditional React starter. Now you'll notice that if you run the app, it's going to give you a 404 error. Wow, why is that?
Well since we changed the project structure, we now have to tell Snowpack how to mount the pieces. Don't worry, that's just a simple change that will make on the config file. (In case you were wondering what's that file with the '.mjs' extension).
That “mount” is part of the configuration API that Snowpack makes available for our customizing needs. Every Snowpack project comes with this snowpack.config.mjs with empty options. Here is where we add all the extra configurations that we may need. It provides options for managing the mode Snowpack will run in, be it development or production. There’s an option for setting all the necessary environment variables and aliases for any imported packages.
This is also where any plugins used in the project will be defined. Even though Snowpack allows this extra configuration, depending on the project you might not need to do it. It has support already for things like CSS Modules, JSX, and TypeScript transpilation. So you only need to do the extra configuration to suit any specific requirements.
Now, that “mount” option allows us to tell Snowpack where to find the files and where to place them in the resulting build. In the configuration above, all the files in the “public” directory are built into the root folder. All the files in the “src” directory are put into the “dist” folder. That’s why for the app to work, we'll have to update the index.html accordingly.
Ok, now if you restart the app. You'll see it working properly again.
Updating the component
Let's do something a little bit more interesting with our component. How about this?
If you run it, you’ll see it works fine but… it looks awful. Let's spice it up a bit. We’ll use simple CSS to give the app a touch of familiarity. You can also use CSS Modules if you prefer.
First, we'll add the logo. Update App.js accordingly
Now we'll create the App.css file.
- Note: You can also use Sass if you like for styling purposes. There's an official plugin for it.
Finally, import the CSS in the App.js file.
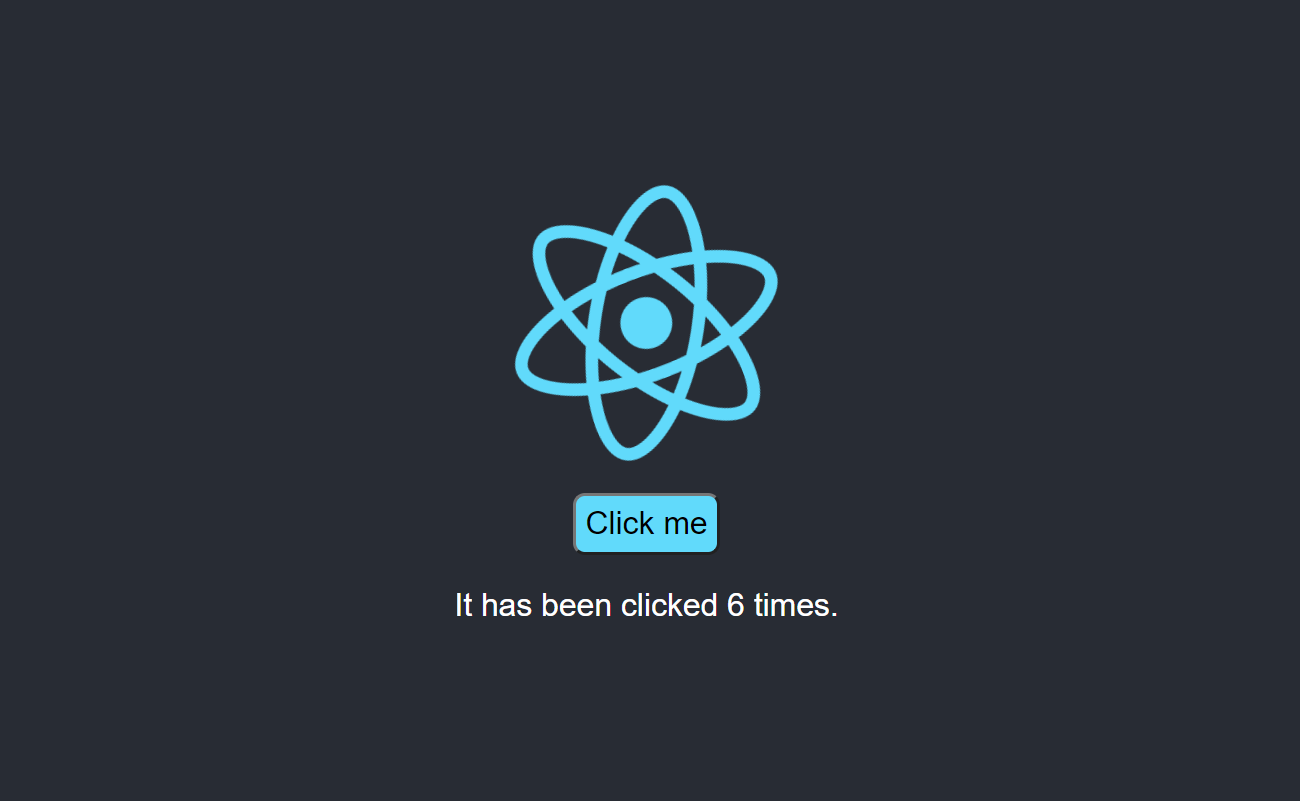
Those changes could've been done while Snowpack was running. In case you didn't have it running go ahead and do so. You'll now see something I'm sure you've seen several times before with other React apps. Except in this case, it has the counter we created.
Wrapping up
Congrats! You now have a fully functioning React app with a configuration of your own that you don't need to eject from when you want to further customize it.
You can keep building on top of this app or create an entirely new one from scratch that fits your needs. You can also integrate it with other tools like Sass for styling or Jest for testing through the use of Snowpack plugins. Now I hope you enjoyed this simple example of how easy it is to get started with Snowpack. And see how it can make projects small and large alike, simpler and faster thanks to the power of ‘Unbundled Development’.
Thanks for reading and go make faster web apps! 🏎️