.png)


Learn about Android Jetpack Navigation, setting up navigation graphs, moving between screens, sending data between fragments, adding custom transitions, testing navigation, and avoiding common mistakes.
Android Jetpack Navigation simplifies app navigation. Here's what you need to know:
-
Key Components:
- Navigation Graph: XML file showing app screens and connections
- NavHost: Container for screens
- NavController: Manages screen transitions
-
Setup Steps:
- Add dependencies to build.gradle
- Create nav_graph.xml
- Add NavHostFragment to main activity
- Use NavController to navigate
-
Key Features:
- Simplified screen transitions
- Easy data passing between screens
- Custom animations
- Deep linking support
- Testing tools
| Feature | Benefit |
|---|---|
| Navigation Graph | Visual representation of app flow |
| Safe Args | Type-safe data passing |
| Deep Linking | Direct access to specific app parts |
| Single Activity | Simpler app architecture |
This guide covers setup, implementation, and best practices for Android Jetpack Navigation.
Related video from YouTube
Before You Start
Here's what you need to get ready for Android Jetpack Navigation:
Setting Up Android Studio
Make sure you have the latest Android Studio version. To check for updates:
- Open Android Studio
- Go to Help > Check for Update
Required Knowledge
Before starting with Android Jetpack Navigation, you should know:
| Topic | Description |
|---|---|
| Kotlin | Basic understanding of Kotlin programming language |
| Android Development | Familiarity with activities, fragments, and layouts |
Having a good grasp of these basics will help you learn Android Jetpack Navigation more easily.
Key Parts of Jetpack Navigation
Jetpack Navigation has three main parts: Navigation Graph, NavHost, and NavController. Let's look at each one:
What is a Navigation Graph?
A Navigation Graph is an XML file that shows how your app's screens connect. It's like a map of your app. It includes:
- All the screens (called destinations)
- How users can move between screens
The Navigation Graph helps the NavController manage how users move around your app.
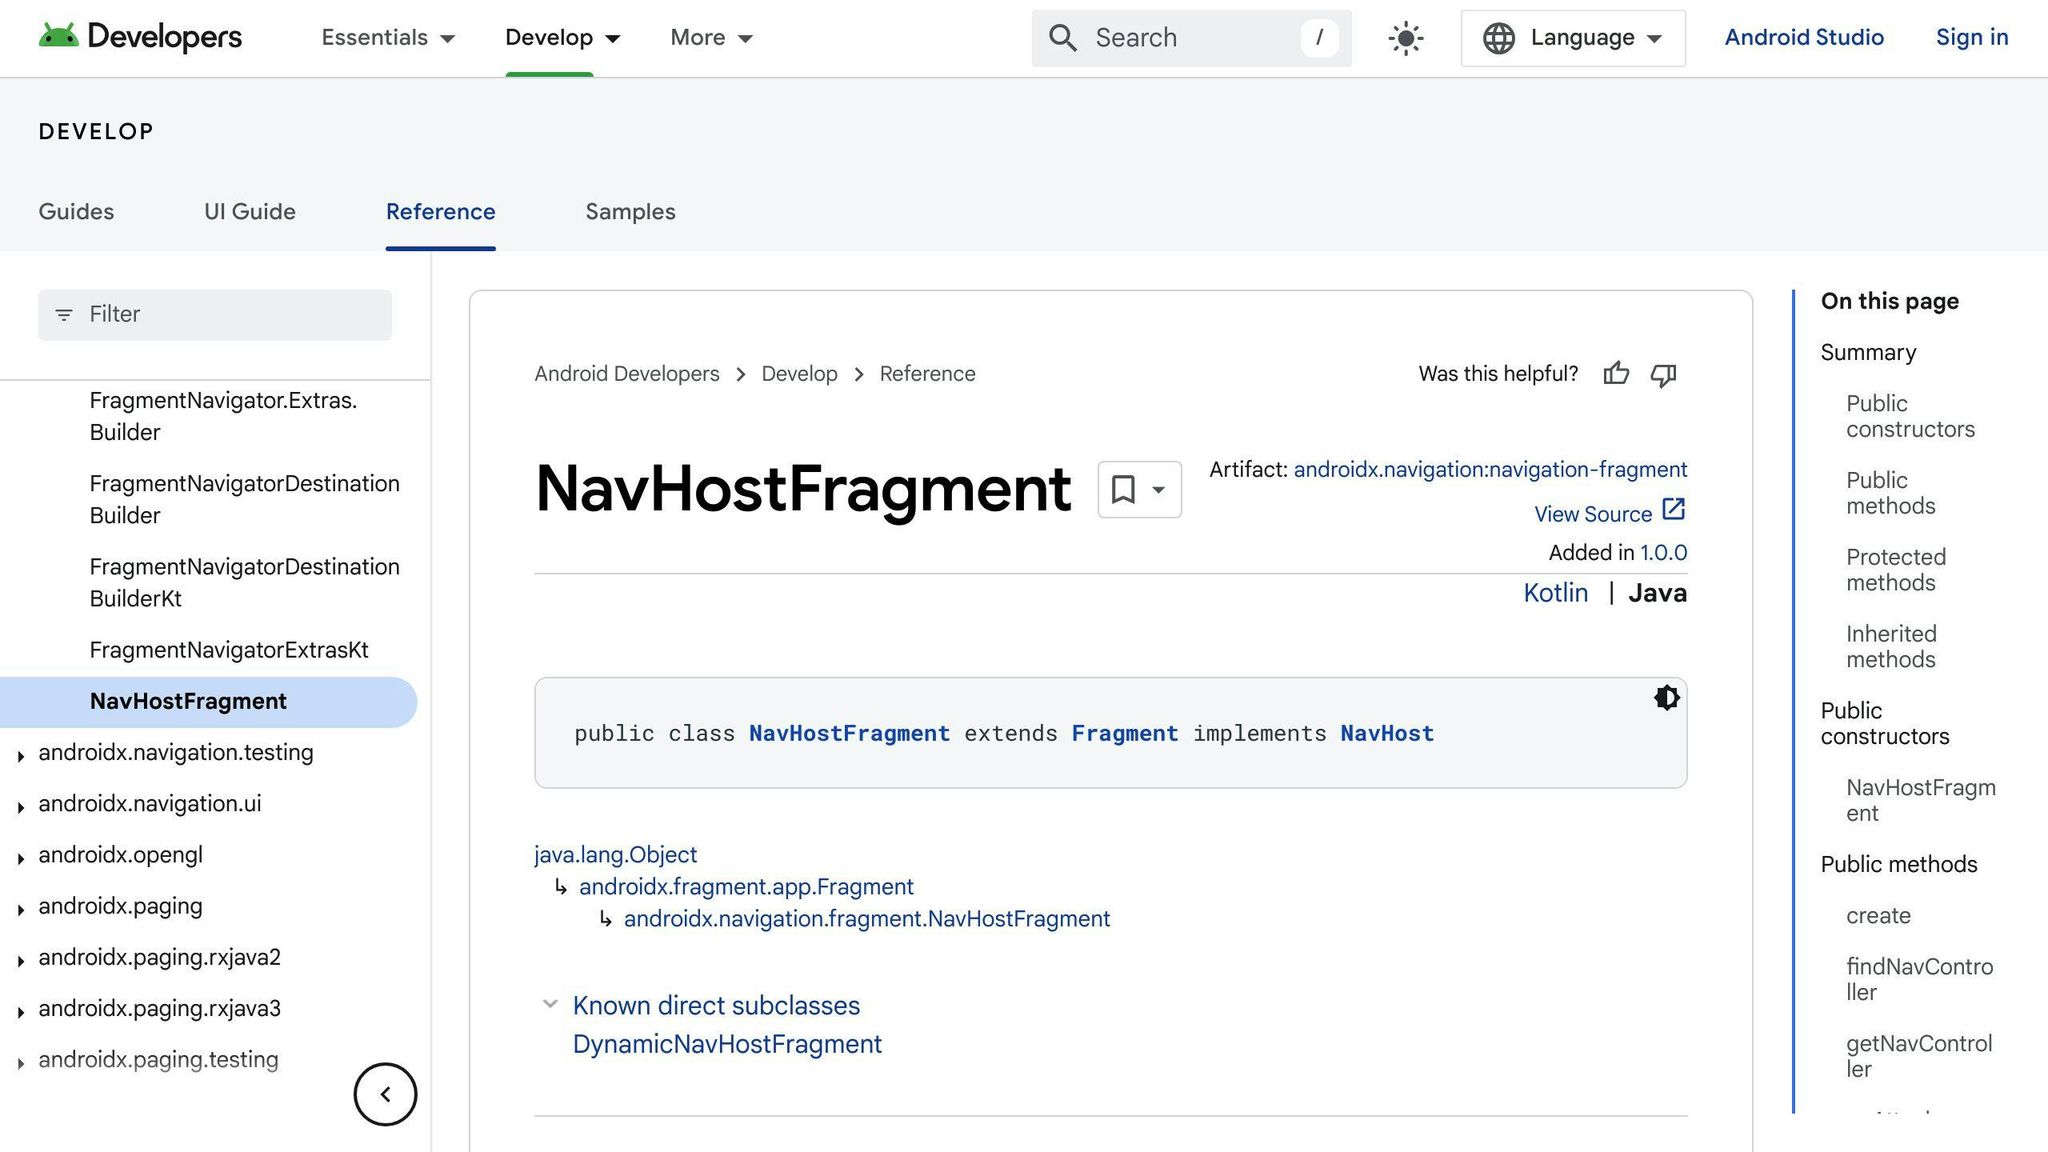
Understanding NavHost
NavHost is a container that holds the screens from your Navigation Graph. It's usually a Fragment or an Activity. NavHost:
- Swaps screens in and out as users move through the app
- Manages the back stack (the list of screens users have visited)
How NavController Works
NavController manages how users move through your app. It:
- Uses the Navigation Graph to know where users can go
- Swaps content in the NavHost as users move around
- Handles the back stack so users can go back to previous screens
Here's a quick comparison of these three parts:
| Component | Role |
|---|---|
| Navigation Graph | Map of app screens and connections |
| NavHost | Container for showing screens |
| NavController | Manages movement between screens |
Understanding these parts helps you build better navigation in your Android apps.
Project Setup Steps
To use Jetpack Navigation in your Android app, follow these steps:
Adding Required Dependencies
Add these lines to your build.gradle file:
dependencies {
    implementation 'androidx.navigation:navigation-fragment:2.3.0'
    implementation 'androidx.navigation:navigation-ui:2.3.0'
}
Making a Navigation Resource File
- Create a new file named
nav_graph.xmlin theres/navigationfolder. - This file defines how your app's screens connect.
Here's a basic nav_graph.xml file:
<?xml version="1.0" encoding="utf-8"?>
<navigation xmlns:app="http://schemas.android.com/apk/res-auto"
    xmlns:tools="http://schemas.android.com/tools"
    xmlns:android="http://schemas.android.com/apk/res/android"
    android:id="@+id/nav_graph"
    app:startDestination="@id/fragment_home">
    <fragment
        android:id="@+id/fragment_home"
        android:name="com.example.HomeFragment"
        android:label="Home"
        tools:layout="@layout/fragment_home" />
    <fragment
        android:id="@+id/fragment_settings"
        android:name="com.example.SettingsFragment"
        android:label="Settings"
        tools:layout="@layout/fragment_settings" />
</navigation>
This XML file shows:
- Two screens (fragments): Home and Settings
- How these screens link in your app
Building Your First Navigation Graph
Let's walk through how to make your first navigation graph for your Android app. This will help you set up how users move between screens.
Planning Navigation Flow
Before you start, think about how users will move through your app:
- What screens does your app have?
- How do these screens connect?
- Which screen should users see first?
Having a clear plan will make building your navigation graph easier.
Adding Destinations to the Graph
Now, let's add screens to your navigation graph. In your nav_graph.xml file, add a <fragment> for each screen. Here's an example:
<navigation xmlns:app="http://schemas.android.com/apk/res-auto"
    xmlns:tools="http://schemas.android.com/tools"
    xmlns:android="http://schemas.android.com/apk/res/android"
    android:id="@+id/nav_graph"
    app:startDestination="@id/fragment_home">
    <fragment
        android:id="@+id/fragment_home"
        android:name="com.example.HomeFragment"
        android:label="Home"
        tools:layout="@layout/fragment_home" />
    <fragment
        android:id="@+id/fragment_settings"
        android:name="com.example.SettingsFragment"
        android:label="Settings"
        tools:layout="@layout/fragment_settings" />
</navigation>
This code sets up two screens: Home and Settings.
Linking Destinations with Actions
After adding screens, you need to connect them. You do this with actions. Actions tell your app how to move from one screen to another.
Here's how to add an action from the home screen to the settings screen:
<navigation xmlns:app="http://schemas.android.com/apk/res-auto"
    xmlns:tools="http://schemas.android.com/tools"
    xmlns:android="http://schemas.android.com/apk/res/android"
    android:id="@+id/nav_graph"
    app:startDestination="@id/fragment_home">
    <fragment
        android:id="@+id/fragment_home"
        android:name="com.example.HomeFragment"
        android:label="Home"
        tools:layout="@layout/fragment_home" >
        <action
            android:id="@+id/action_home_to_settings"
            app:destination="@id/fragment_settings" />
    </fragment>
    <fragment
        android:id="@+id/fragment_settings"
        android:name="com.example.SettingsFragment"
        android:label="Settings"
        tools:layout="@layout/fragment_settings" />
</navigation>
This code adds an action to move from the Home screen to the Settings screen.
Setting Up NavHost
Adding a NavHost is a key step in using Android Jetpack Navigation. Here's how to set it up in your main activity:
Adding NavHostFragment to Main Activity
Put this code in your activity's layout file:
<?xml version="1.0" encoding="utf-8"?>
<androidx.constraintlayout.widget.ConstraintLayout xmlns:android="http://schemas.android.com/apk/res/android"
    xmlns:app="http://schemas.android.com/apk/res-auto"
    android:layout_width="match_parent"
    android:layout_height="match_parent">
    <fragment
        android:id="@+id/nav_host_fragment"
        android:name="androidx.navigation.fragment.NavHostFragment"
        android:layout_width="match_parent"
        android:layout_height="match_parent"
        app:defaultNavHost="true"
        app:navGraph="@navigation/nav_graph" />
</androidx.constraintlayout.widget.ConstraintLayout>
This adds a NavHostFragment with the ID nav_host_fragment to your activity's layout.
NavHost XML Setup
When setting up the NavHostFragment in your XML layout:
| Attribute | Value | Purpose |
|---|---|---|
| android:name | androidx.navigation.fragment.NavHostFragment | Creates a new NavHostFragment |
| app:defaultNavHost | true | Lets NavHostFragment handle the back button |
| app:navGraph | @navigation/nav_graph | Links to your navigation graph |
These settings help your app use the Navigation component correctly.
Using NavController
NavController is a key part of Android Jetpack Navigation. It helps you move between screens in your app. Here's how to use it:
Getting NavController Instance
To use NavController, you need to get it in your activity or fragment. Here's how:
| Context | Method |
|---|---|
| Activity | findNavController(R.id.nav_host_fragment) |
| Fragment | NavHostFragment.findNavController(this) |
| View | Navigation.findNavController(view) |
Moving Between Destinations
Once you have NavController, use its navigate() method to move between screens. For example:
val navController = findNavController(R.id.nav_host_fragment)
navController.navigate(R.id.action_home_fragment_to_details_fragment)
This code moves from the home screen to the details screen.
Managing Back Navigation
NavController handles back navigation too. When users press the back button, it goes to the previous screen.
You can also use navigateUp() to go back:
val navController = findNavController(R.id.nav_host_fragment)
if (!navController.navigateUp()) {
    // Handle when going back isn't possible
}
sbb-itb-bfaad5b
Sending Data Between Destinations
Moving data from one screen to another is important in Android apps. Here's how to do it:
Using Safe Args Plugin
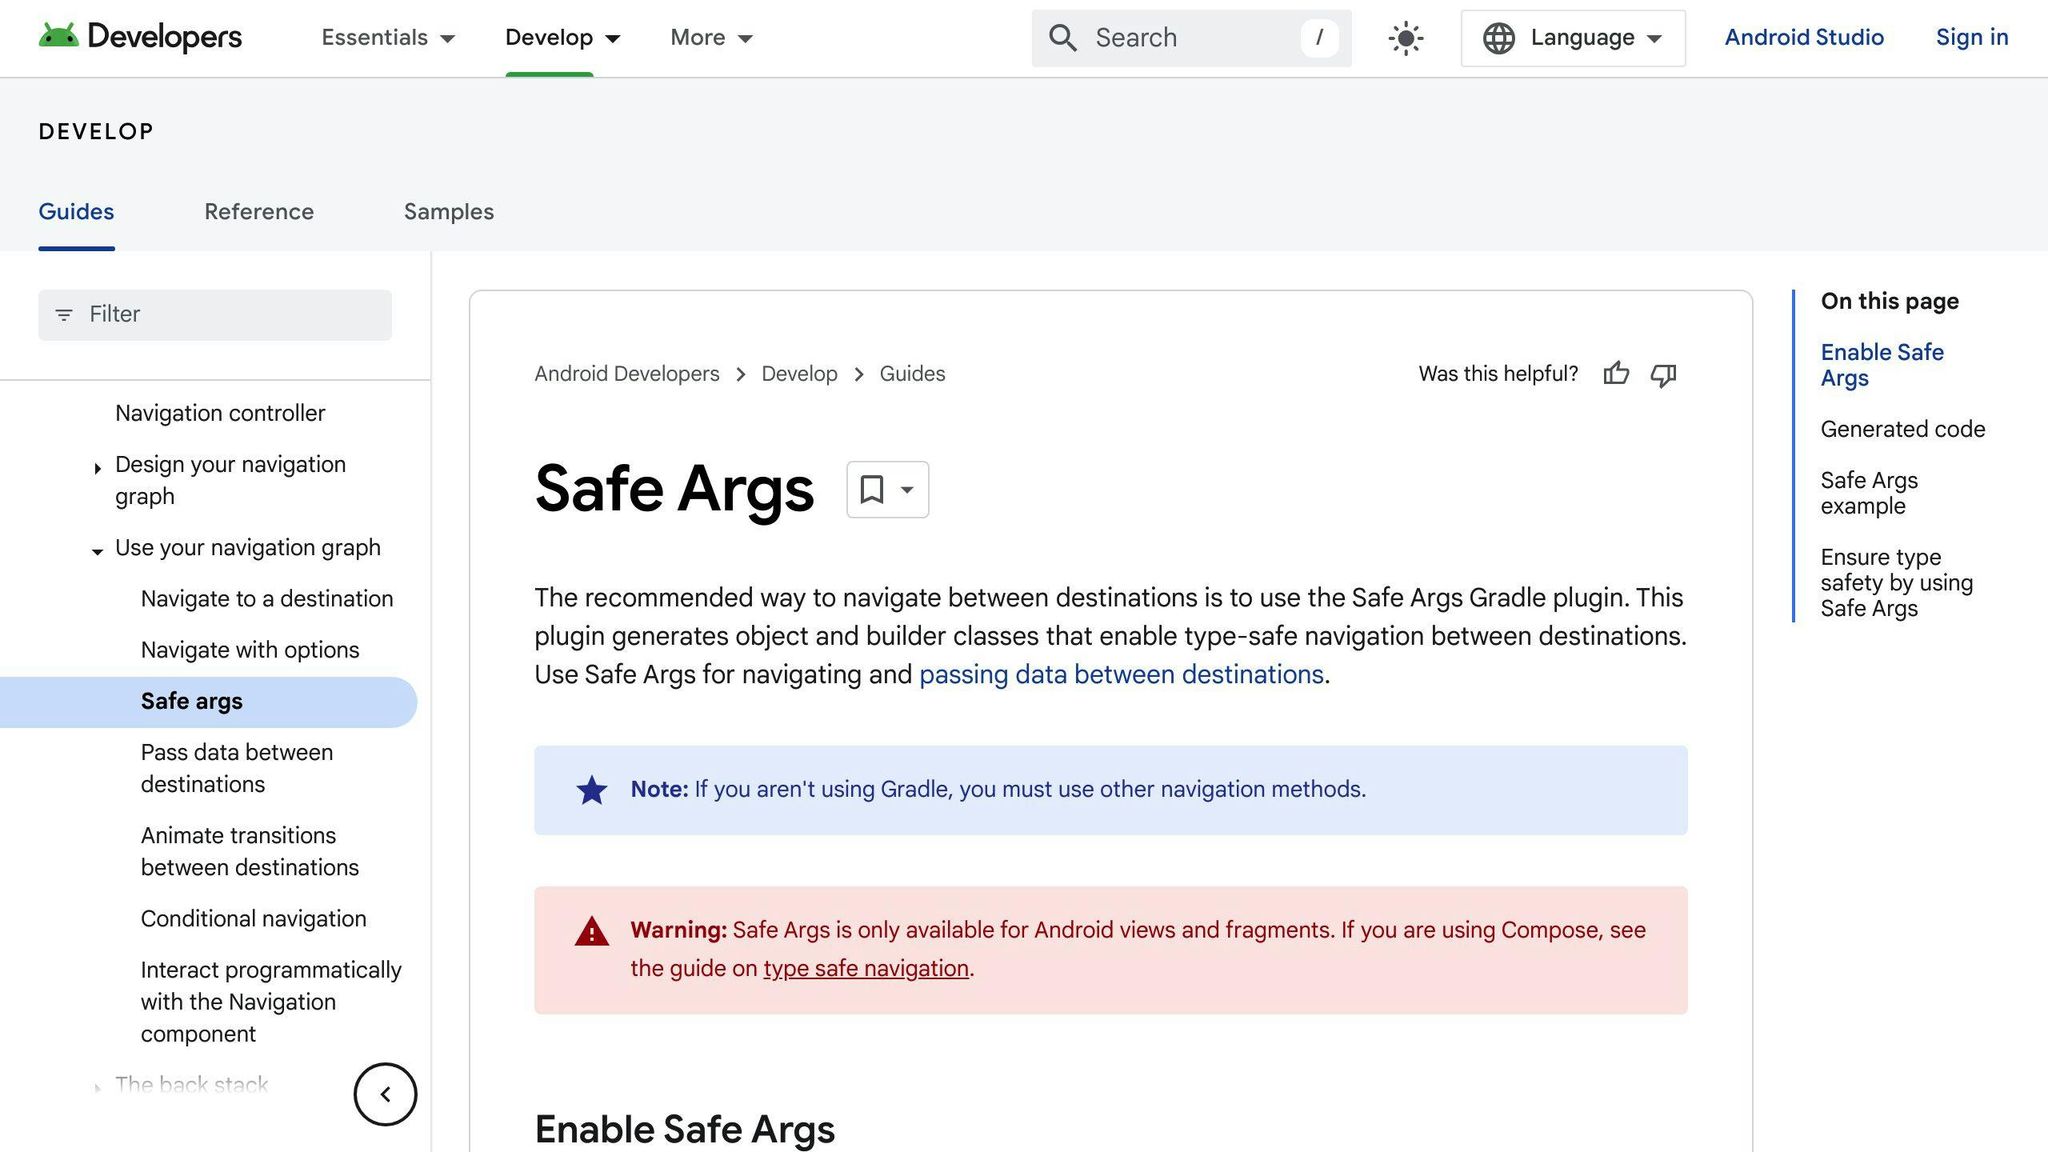
Safe Args is a good way to send data between screens. It keeps your data types safe. To use it:
- Add this to your
build.gradlefile:
plugins {
    id 'androidx.navigation.safeargs'
}
- Safe Args will make classes for your navigation graph. Use these to send data.
Setting and Getting Arguments
To send data, you need to set up arguments in your navigation graph. Here's how:
- Add arguments to your
nav_graph.xmlfile:
<fragment
    android:name="com.example.DetailsFragment"
    android:label="Details Fragment">
    <argument
        android:name="itemId"
        app:argType="integer" />
</fragment>
- To get the argument in your screen, use this code:
val itemId = arguments?.getInt("itemId")
Here's a quick look at how to use arguments:
| Step | What to do |
|---|---|
| 1. Set up | Add argument in nav_graph.xml |
| 2. Send data | Use Safe Args generated class |
| 3. Get data | Use arguments?.get...() in your screen |
This makes it easy to move data between screens in your app.
Custom Navigation Transitions
This section explains how to add custom animations to your app's navigation.
Adding Custom Animations
To add custom animations:
- Create animation files in the
res/animfolder - Define the animation effects in these files
Here's an example of a fade-in animation (fade_in.xml):
<?xml version="1.0" encoding="utf-8"?>
<alpha xmlns:android="http://schemas.android.com/apk/res/android"
    android:duration="@android:integer/config_shortAnimTime"
    android:interpolator="@android:anim/decelerate_interpolator"
    android:fromAlpha="0"
    android:toAlpha="1" />
This code creates a fade-in effect for your navigation.
Using Transition Effects
To apply transition effects:
- Use the
NavOptionsclass - Set the animation for entering and exiting screens
- Apply these options when navigating
Here's how to add a fade-in effect when moving between screens:
val navOptions = NavOptions.Builder()
   .setEnterAnim(R.anim.fade_in)
   .setExitAnim(R.anim.fade_out)
   .build()

navController.navigate(R.id.action_fragment_a_to_fragment_b, navOptions)
This code applies a fade-in effect when going from Fragment A to Fragment B.
| Step | Action |
|---|---|
| 1 | Create animation XML files |
| 2 | Set up NavOptions with animations |
| 3 | Use NavOptions when navigating |
Setting Up Deep Linking
Deep linking lets users go straight to specific parts of your app. Here's how to set it up using Android Jetpack Navigation:
Making Deep Links for Destinations
To add deep links:
- Open your navigation graph XML file
- Add a
<deepLink>element to your destination
Here's an example:
<fragment
    android:id="@+id/secondFragment"
    android:name="com.example.myapp.SecondFragment"
    android:label="@string/second_fragment_label">
    <deepLink
        android:id="@+id/deepLink"
        app:uri="www.example.com/secondFragment" />
</fragment>
This code links www.example.com/secondFragment to secondFragment in your app.
Processing Incoming Deep Links
When a deep link opens your app, Android sends an Intent. To handle it:
- Override
onNewIntentin your activity:
override fun onNewIntent(intent: Intent) {
    super.onNewIntent(intent)
    // Handle the deep link intent here
}
- Use
NavControllerto go to the right screen:
navController.navigate(intent.data!!)
| Step | Action |
|---|---|
| 1 | Add deep link in navigation graph |
| 2 | Override onNewIntent in activity |
| 3 | Use NavController to navigate |
This setup helps users jump right to the part of your app they want.
Tips and Common Mistakes
Using Single Activity Design
When using Android Jetpack Navigation, it's best to use one main activity. This makes it easier to:
- Control how screens change
- Keep the app simple
- Give users a smooth experience
With one activity, you can move between screens (fragments) more easily.
Managing the Back Stack
The back stack is the list of screens users have visited. It's important to handle it well. Here's how:
- Use the Navigation Editor to set up how screens go back
- Use
popUpToto remove extra screens from the back stack
This helps users go back to the right screen without problems.
Avoiding Navigation Errors
Here are some tips to avoid common mistakes:
| Tip | What to Do |
|---|---|
| Use AndroidX | Add android.useAndroidX=true to gradle.properties |
| Fix AppBarConfiguration warnings | Add needed options in build.gradle |
Following these tips helps make your app's navigation work better.
Advanced Navigation Methods
Using Nested Navigation Graphs
Nested navigation graphs help organize your app's navigation into smaller parts. This is useful for apps with many screens or features.
To make a nested graph:
- Create a new navigation graph file
- Add it to your main navigation graph
Here's an example of a nested graph in XML:
<navigation xmlns:android="http://schemas.android.com/apk/res/android"
    xmlns:app="http://schemas.android.com/apk/res-auto"
    android:id="@+id/main_graph"
    app:startDestination="@id/home_fragment">

    <fragment
        android:id="@+id/home_fragment"
        android:name="com.example.HomeFragment"
        android:label="@string/home_fragment_label" />

    <navigation
        android:id="@+id/settings_graph"
        app:startDestination="@id/settings_fragment">
        <fragment
            android:id="@+id/settings_fragment"
            android:name="com.example.SettingsFragment"
            android:label="@string/settings_fragment_label" />
    </navigation>

</navigation>
This example shows a main graph with a nested settings graph inside it.
Setting Up Conditional Navigation
Conditional navigation lets you change where users go based on certain factors. You can use it to:
- Send users to a login screen if they're not signed in
- Show new users a tutorial
Here's how to do conditional navigation in Kotlin:
val navController = findNavController(R.id.nav_host_fragment)

if (isUserSignedIn) {
    navController.navigate(R.id.home_fragment)
} else {
    navController.navigate(R.id.login_fragment)
}
This code checks if a user is signed in and sends them to the right screen.
Creating Global Actions
Global actions are navigation steps you can use from anywhere in your app. They're good for things like:
- Search functions
- Logout buttons
To make a global action:
- Add it to your navigation graph XML
- Use NavController to trigger it
Here's an example of a global action in XML:
<navigation xmlns:android="http://schemas.android.com/apk/res/android"
    xmlns:app="http://schemas.android.com/apk/res-auto"
    android:id="@+id/main_graph"
    app:startDestination="@id/home_fragment">

    <action
        android:id="@+id/global_search_action"
        app:destination="@id/search_fragment" />

    <!-- Other fragments and actions -->

</navigation>
This sets up a global search action that can be used from any screen in the app.
| Navigation Method | Use Case | Key Benefit |
|---|---|---|
| Nested Graphs | Apps with many screens | Better organization |
| Conditional Navigation | User-specific paths | Personalized experience |
| Global Actions | App-wide functions | Easy access from anywhere |
Testing Navigation
Here's how to test navigation in your Android app:
Writing Navigation Unit Tests
To test navigation in Jetpack Compose:
- Add this to your
build.gradle:
dependencies {
    implementation 'androidx.compose.ui:ui-test-junit4:1.2.1'
}
- Make a new test class:
class MoodTrackerScreenNavigationTest {
    val composeTestRule = createAndroidComposeRule<ComponentActivity>()
    lateinit var navController: TestNavHostController

    @Before
    fun setupMoodTrackerAppNavHost() {
        navController = TestNavHostController(composeTestRule.activity)
        composeTestRule.setContent {
            // Your app's navigation composable function
        }
    }
}
UI Tests for Navigation
Here's an example of a UI test for navigation:
@RunWith(AndroidJUnit4::class)
class FirstScreenTest {
    @Test
    fun testNavigationToSecondScreen() {
        val mockNavController = mock(NavController::class.java)
        val firstScenario = launchFragmentInContainer<FirstScreen>()

        firstScenario.onFragment { fragment ->
            Navigation.setViewNavController(fragment.requireView(), mockNavController)
        }

        onView(ViewMatchers.withId(R.id.button)).perform(ViewActions.click())
        verify(mockNavController).navigate(R.id.action_first_screen_to_second_screen)
    }
}
This test checks if clicking a button takes you to the right screen.
| Test Type | What It Does | Tools Used |
|---|---|---|
| Unit Test | Checks navigation logic | Jetpack Compose Test Rule |
| UI Test | Checks screen changes | Espresso, Mockito |
These tests help make sure your app's navigation works as it should.
Wrap-Up
This guide has shown you how to use Android Jetpack Navigation in your app. You've learned about:
- Setting up navigation graphs
- Moving between screens
- Sending data between fragments
- Adding custom screen transitions
- Testing navigation
- Avoiding common mistakes
Here's a quick summary of key points:
| Topic | What You Learned |
|---|---|
| Navigation Graphs | How to set up and use them |
| Screen Navigation | Ways to move between app screens |
| Data Passing | How to send info between fragments |
| Custom Transitions | Adding special effects when changing screens |
| Navigation Testing | Methods to check if navigation works right |
| Common Mistakes | What to watch out for |
Remember to:
- Keep your navigation simple and clear
- Test your app well to make sure it works smoothly
We suggest looking into more advanced topics like:
- Nested navigation graphs
- Conditional navigation
These can help you build better Android apps.
Keep practicing and improving your skills. Good luck with your app development!