
Learn how to perform database load testing with JMeter using this step-by-step guide. Set up the test environment, configure JMeter, create test plans, analyze results, troubleshoot common issues, and follow best practices.
Database load tests answer one question: at what concurrency does your query latency fall off a cliff? Averages lie here. You care about p95 and p99, because the slow 1% of queries are the ones holding connection pool slots when traffic spikes.
JMeter is the right tool for this if you want a GUI to model SQL workloads, parameterize queries from CSVs, and ship the same .jmx to a CI runner later. k6 is the modern alternative if you'd rather write tests in JavaScript, but JMeter still wins for JDBC-driven SQL load patterns where you're shaping traffic with thread groups and timers rather than scripting it. This guide walks through a JMeter setup that produces numbers you can actually defend in a postmortem.
Key Steps
Install JMeter and required JDBC drivers
Set up test data and configure the database
Create a test plan with thread groups and SQL queries
Add listeners to monitor test results
Run the test and analyze performance metrics
Troubleshoot issues and optimize database performance
Related video from YouTube
Getting Ready
Software You'll Need
To perform database load testing with JMeter, you must have the following software installed:
Software
Version
Java
8 or higher
Apache JMeter
5.0 or higher
JDBC drivers
For your specific database (e.g., MySQL, Oracle, Microsoft SQL Server)
Make sure you have the correct versions installed, as they are crucial for running JMeter and connecting to your database.
Setting Up the Database
Before running load tests, you'll need to set up your database:
- Create a database user
Create a user with permissions to execute SQL queries.
- Prepare test data
Set up a test dataset that represents real-world usage patterns.
- Configure the database
Ensure the database is configured to handle the expected load.
System Requirements
To effectively run load tests, your system should meet these minimum hardware specifications:
- 64-bit operating system
- 3rd generation (or newer) Intel Core i7 processor (or equivalent AMD)
- 16 GB RAM
- SSD disk with sufficient storage space
- Reliable network connection for test traffic
Meeting these requirements will help avoid performance issues during load testing.
Configuring JMeter for Database Testing
Installing and Starting JMeter
First, make sure you have Apache JMeter installed on your system. You can download the latest version from the Apache JMeter website. Once installed, launch JMeter by navigating to the installation directory and running the jmeter.bat file (on Windows) or jmeter command (on Linux/Mac).
Adding JDBC Drivers
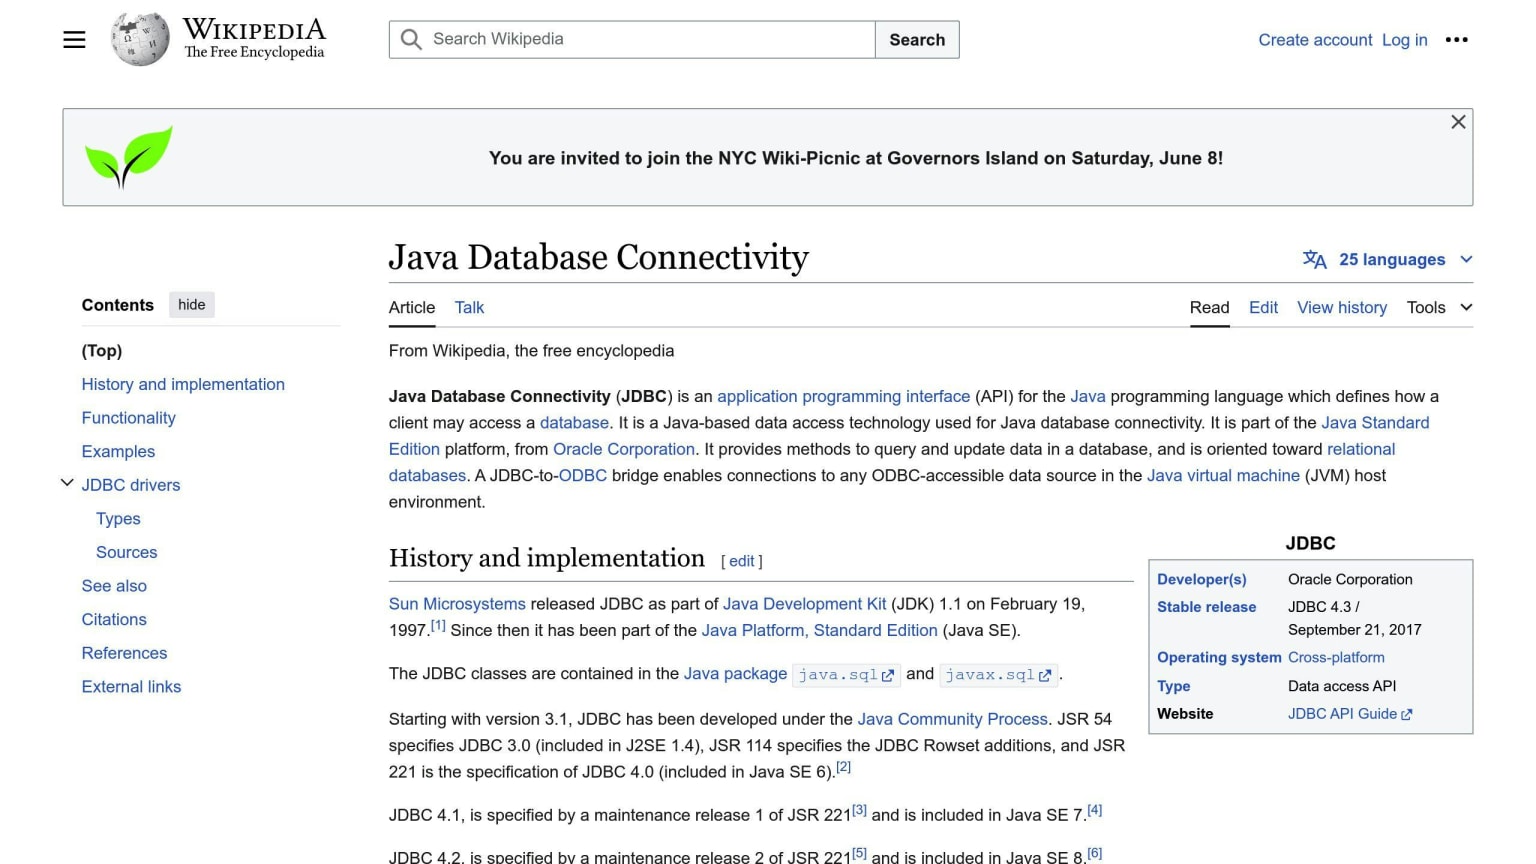
To connect to your database, you need to add the necessary JDBC driver JAR files to JMeter's lib folder. The JDBC driver depends on the type of database you're using (e.g., MySQL, Oracle, Microsoft SQL Server). Download the appropriate JDBC driver JAR file and copy it to the lib folder in your JMeter installation directory.
Creating a New Test Plan
Create a new test plan in JMeter by selecting File > New Test Plan. Name your test plan (e.g., "Database Load Testing") and click Create. This will create a new test plan with a default thread group.
In the next section, we'll explore setting up the test by adding a thread group, configuring database connections, creating SQL queries, and adding listeners.
Setting Up the Test
Follow these steps to set up your database load test in JMeter:
- Add a Thread Group A thread group represents a group of users or virtual users that will interact with your database. Right-click on the test plan and select Add > Threads (Users) > Thread Group. Configure the thread group settings, such as the number of threads (users) and the ramp-up period (the time it takes for all threads to start).
- Configure Database Connection To connect to your database, you need to add a JDBC Connection Configuration element. Right-click on the thread group and select Add > Config Element > JDBC Connection Configuration. Enter the database connection details, such as the JDBC URL, username, and password.
- Create SQL Queries Add a JDBC Request element to execute SQL queries against your database. Right-click on the thread group and select Add > Sampler > JDBC Request. In the JDBC Request element, enter the SQL query you want to execute and configure any necessary parameters.
- Add Listeners Listeners help you monitor and analyze the test results. Right-click on the test plan and select Add > Listener. Common listeners for database testing include:
- View Results Tree: Displays a tree of all sample results
- Summary Report: Provides a summary of the test results
- Aggregate Report: Generates a report with statistical data
Running the Test
Once you've configured the test plan, you can run the load test by clicking the green "Start" button in JMeter's toolbar. JMeter will execute the SQL queries against your database, simulating the specified number of users. Monitor the test results in the listeners to identify any performance issues or bottlenecks.
Setting Up the Test
Adding a Thread Group
A thread group represents a group of virtual users that will interact with your database. To add a thread group:
- Right-click on the test plan
- Select Add > Threads (Users) > Thread Group
- Set the number of threads (users)
- Set the ramp-up period (time for all threads to start)
For example, you can set 10 threads with a 30-second ramp-up period. This means JMeter will start 10 threads, one every 3 seconds, until all 10 are active.
Configuring Database Connection
To connect to your database:
- Right-click on the thread group
- Select Add > Config Element > JDBC Connection Configuration
- Enter the database connection details:
- JDBC URL (e.g.,
jdbc:mysql://localhost:3306/mydatabase) - Username
- Password
- JDBC URL (e.g.,
- Select the correct JDBC driver class
Creating SQL Queries
To execute SQL queries:
- Right-click on the thread group
- Select Add > Sampler > JDBC Request
- Enter the SQL query (e.g.,
SELECT * FROM users) - Configure any necessary parameters
You can use placeholders like ? to make the query dynamic.
Adding Listeners
Listeners help monitor and analyze test results. To add listeners:
- Right-click on the test plan
- Select Add > Listener
Common listeners include:
Listener
Purpose
View Results Tree
Displays all sample results
Summary Report
Provides a summary of results
Aggregate Report
Generates statistical data report
Add one or more listeners to collect and analyze test results, helping identify performance issues or bottlenecks.
Running the Test
Use the GUI to design and debug your test plan. Do not use it to run the real load. The GUI is a Swing app that adds memory pressure and skews timings once you push past a few hundred threads. For any run you plan to draw conclusions from, save the plan and execute it in non-GUI mode:
jmeter -n -t plan.jmx -l results.jtl -e -o ./report
That writes a raw .jtl plus an HTML dashboard. Keep View Results Tree disabled in the saved plan (it buffers every sample in memory) and rely on the Summary and Aggregate reports for headline numbers.
Monitoring Progress
As the test runs, you can monitor its progress in the View Results Tree listener. This shows all the sample results, including:
- Response time
- Bytes sent
- Error messages (if any)
You can also use the Summary Report listener to get an overview of the test results, such as:
- Average response time
- Throughput (requests per second)
- Error rate
Troubleshooting
If you run into any issues during the test, like connection timeouts or JDBC driver errors, check the Troubleshooting section for solutions.
Analyzing Results
Using the Summary Report
The Summary Report listener gives you a quick overview of the test results. It shows key details like:
- Average response time
- Throughput (requests per second)
- Error rate
This report helps you quickly spot performance issues or bottlenecks.
Examining Detailed Results
The View Results Tree listener breaks down each request and response in detail, including:
- Response time
- Bytes sent
- Error messages (if any)
Use this listener to find specific problems, like slow queries or connection timeouts.
Identifying Performance Issues
By analyzing the test results, you can identify:
Performance Issue
Description
Bottlenecks
Issues slowing down your database or application
Slow queries/transactions
Queries or transactions taking too long to execute
Connection timeouts/errors
Problems with database connections
Resource utilization
High CPU, memory, disk, or network usage
Finding these issues helps you optimize your database and application for better performance and fewer errors.
Troubleshooting
JDBC Driver Issues
Sometimes, you may encounter errors related to the JDBC driver when configuring JMeter for database testing. One common error is "Cannot load JDBC driver class." To fix this:
- Ensure the JDBC driver JAR file is correctly placed in JMeter's lib directory.
- Verify the JDBC driver class name is correctly specified in the JDBC Connection Configuration element.
- Restart JMeter after installing or updating the JDBC driver.
Another issue is the "No suitable driver" error. To resolve this:
- Check if the JDBC driver version is compatible with your database version.
- Confirm the JDBC driver JAR file is correctly placed in JMeter's lib directory.
Connection Timeouts
During load testing, connection timeouts can cause tests to fail or hang. To address this:
- Increase the connection timeout value in the JDBC Connection Configuration element.
- Optimize database performance by indexing tables, optimizing queries, and ensuring adequate resources.
- Verify the database server is not overloaded or experiencing high latency.
Issue
Possible Solutions
JDBC Driver Issues
- Ensure JDBC driver is correctly installed in JMeter's lib directory
- Verify JDBC driver class name is correctly specified
- Restart JMeter after installing/updating JDBC driver
- Check JDBC driver version compatibility with database version
Connection Timeouts
- Increase connection timeout value in JDBC Connection Configuration
- Optimize database performance (indexing, query optimization, resources)
- Check if database server is overloaded or experiencing high latency
Guardrails that actually change your numbers
Test against a clone of prod schema, not synthetic data
A fresh table with 1,000 sequential rows behaves nothing like a production table with 40 million rows, fragmented indexes, and a skewed cardinality on the column you're filtering. Restore a recent prod snapshot into the test database (with PII scrubbed) and parameterize JDBC Requests from a CSV of real-shaped IDs. Synthetic data lies about index efficiency and lies about the query planner.
Set the connection pool to your real prod size
In the JDBC Connection Configuration, the Max Number of Connections is what JMeter holds open per JVM. Set it to the size of the pool your application server actually runs in production. Testing with 200 connections when prod runs 20 just measures your database's headroom, not your app's behavior under contention.
Always include a warm-up period
The first 30-60 seconds of any run are noise: JVM JIT, JDBC connection establishment, cold caches on the database side. Either discard the first window from your analysis or front-load a low-rate warm-up thread group before the measurement thread group starts.
Ramp up over a meaningful interval
If you set 500 threads with a 1-second ramp-up, you've simulated a traffic spike, not a sustained load. For steady-state load, use a ramp-up of threads / target_RPS seconds at minimum, then hold for several minutes. Spikes and steady-state are different tests; don't conflate them.
Report p95 and p99, not the average
The Aggregate Report's 95% Line and 99% Line columns are the only latency numbers worth pasting into a Slack thread. Averages get dragged down by the fast majority and hide the tail that your users actually feel.
Run distributed when one machine isn't enough
A single JMeter JVM tops out somewhere around 1,000-2,000 active threads depending on the test. Beyond that, you're measuring the load generator, not the database. Either spin up JMeter in distributed mode across multiple boxes or push the .jmx to BlazeMeter or Azure Load Testing, both of which run the same plan at much higher concurrency without rewriting anything.
Wrapping up
A JMeter database test is only as good as the assumptions baked into it. Design the plan in the GUI, run it in non-GUI mode against a prod-schema clone, size the connection pool to match production, throw out the warm-up window, and read the p95/p99 columns instead of the average. If one machine can't push enough load, hand the .jmx to BlazeMeter or Azure Load Testing rather than tuning a heroic single-node setup.
Do that and the report you produce will tell you something you didn't already know: which query is the first to choke, at what concurrency, and how much headroom you have before the connection pool saturates. That's the actual deliverable.
FAQs
How do I connect JMeter to a database?
To connect JMeter to a database, follow these 6 simple steps:
- Add a Thread Group to your Test Plan.
- Set up the database connection by adding a JDBC Connection Configuration element.
- Create a JDBC Request to execute SQL queries.
- Configure JMeter to read data from a CSV file (if needed).
- Add Listeners to monitor and analyze test results.
- Run the Test.
How do I add a JDBC request in JMeter?
To add a JDBC request in JMeter:
- Right-click on the Thread Group element and select Add -> Sampler -> JDBC Request.
- In the new JDBC Request element, enter the SQL query you want to execute.
- Configure any necessary parameters for the query.
Step
Action
1
Right-click on Thread Group
2
Select Add -> Sampler -> JDBC Request
3
Enter SQL query in the new JDBC Request element
4
Configure query parameters (if needed)
These steps allow you to connect JMeter to your database and add JDBC requests for load testing.