Learn how to automate API documentation with OpenAPI in 7 easy steps, enhance developer experience, and ensure accurate, consistent API docs.
Automating API documentation with OpenAPI streamlines the process, ensuring accuracy and consistency while saving time and effort. Here are the key steps:
Understand OpenAPI: A standardized specification for describing REST APIs, enabling automated documentation generation.
Set Up Environment: Choose the right tools (e.g., Swagger, Stoplight), integrate OpenAPI into your workflow, and configure your project.
Add Code Annotations: Use annotations like
@Operationand@Parameterto describe endpoints, parameters, and responses.Generate Documentation: Use tools like Swagger UI or ReDoc to generate interactive API documentation from your annotated code.
Customize Documentation: Organize endpoints into groups, add descriptive summaries, and specify response models for clarity.
Integrate into CI/CD: Ensure documentation accuracy by validating generated docs against the committed files in your CI/CD pipeline.
Review and Publish: Review the generated documentation for accuracy, completeness, and usability, then publish it for API consumers.
| Quick Comparison |
|---|
| Benefits of OpenAPI Automation |
| - Improved, up-to-date documentation |
| - Time-efficient process |
| - Better developer experience |
| - Enhanced collaboration |
By following these steps, you can streamline your API documentation process, reduce costs, and improve the overall quality of your API.
Step 1: What is OpenAPI?
OpenAPI is a standardized way to describe REST APIs. It helps API developers, users, and tools understand an API's capabilities without needing access to the source code. With OpenAPI, you can automate API documentation, saving time and ensuring consistency across your API ecosystem.
An OpenAPI Specification contains various types of information, including:
| Information Type | Description |
|---|---|
| API Endpoints | Definitions of available API endpoints, including HTTP methods, parameters, and response formats. |
| Data Formats | Specifications of data formats used in the API, such as JSON, XML, or YAML. |
| Authentication Methods | Descriptions of authentication mechanisms used to secure the API, including OAuth, Basic Auth, or JWT. |
By using OpenAPI, you can create a machine-readable description of your API that can be used to generate documentation, test cases, and client code. This enables a more efficient and consistent development process, reducing errors and misunderstandings.
In the next step, we'll explore how to set up your environment for OpenAPI and create an OpenAPI Specification for your API.
Step 2: Set Up for OpenAPI
Now that you have a basic understanding of OpenAPI, it's time to set up your environment for automating API documentation. This step is crucial in ensuring a seamless integration of OpenAPI into your development workflow.
Choosing the Right Tools
To get started, you'll need to select the right tools for your environment. If you're already using OpenAPI on other services, you might have the necessary tools in place. Otherwise, you can explore popular options like Swagger or Stoplight, which provide easy-to-use interfaces for generating and managing OpenAPI specifications.
Integrating OpenAPI into Your Workflow
Once you have the necessary tools, you'll need to integrate OpenAPI into your development workflow. This involves adding your OpenAPI specification to your project's root folder and configuring your API playground.
Here's how you can configure your mint.json file:
| Configuration | Description |
|---|---|
openapi |
Specify the location of your OpenAPI file or URL |
If you have a URL that returns your OpenAPI file, you can also use the URL instead of adding the file to your docs.
By setting up your environment correctly, you'll be able to automate the creation of API documentation, saving you time and effort in the long run. In the next step, we'll explore how to add code annotations for OpenAPI.
Step 3: Code Annotations for OpenAPI
In the previous step, we set up our environment for automating API documentation using OpenAPI. Now, it's time to annotate our source code to facilitate the automatic generation of OpenAPI documentation.
Why Annotations Matter
Accurate comments and annotations are crucial for effective documentation. They provide essential information about the API, its endpoints, parameters, responses, and more. By adding OpenAPI annotations to our code, we can ensure that our documentation is always up-to-date and reflects the latest changes to our API.
Annotating Endpoints and Parameters
Let's take a closer look at how we can annotate our endpoints and parameters using OpenAPI annotations. For example, we can use the @Operation annotation to describe a single API operation on a path. We can also use the @Parameter annotation to describe a single operation parameter.
Here's an example of how we can annotate a JAX-RS endpoint method:
@GetMapping("/top/{stream}/last/30d")
@Operation(summary = "Get the top memes since last 30 days for a stream",
            description = "Top meme's list (page) since 30 last days for a stream and given page number.")
public List<PublishedMeme> getTop30d(
        @Parameter(description = "Stream name", example = "gaming") @PathVariable String stream,
        @Parameter(description = "Page number") @RequestParam(value="page", defaultValue = "1") int page) throws IOException {
    return publishedMemesService.getTopThirtyDayPageOfHotStream(stream, page);
}
In this example, we've added OpenAPI annotations to describe the endpoint, its parameters, and the response.
Annotating POJOs
We can also add OpenAPI annotations to our POJOs (Plain Old Java Objects) to describe what they represent. For example, we can use the @Schema annotation to describe a POJO.
Here's an example of how we can annotate a POJO:
@Schema(description = "Inventory list")
public class InventoryList {
    @Schema(description = "List of systems")
    private List<SystemData> systems;
    // getters and setters
}
In this example, we've added OpenAPI annotations to describe the POJO and its properties.
By adding these annotations to our code, we can ensure that our OpenAPI documentation is accurate, up-to-date, and reflects the latest changes to our API. In the next step, we'll explore how to generate OpenAPI documentation using these annotations.
Step 4: Generate OpenAPI Docs
Now that we've annotated our code with OpenAPI annotations, it's time to generate our OpenAPI documentation. There are several tools available that can help us generate interactive documentation from our annotated code.
Tools for Generating Documentation
We can use tools like Swagger UI and ReDoc to generate interactive API documentation. These tools take our OpenAPI specification and generate a user-friendly interface that allows API consumers to test endpoints directly.
Swagger UI
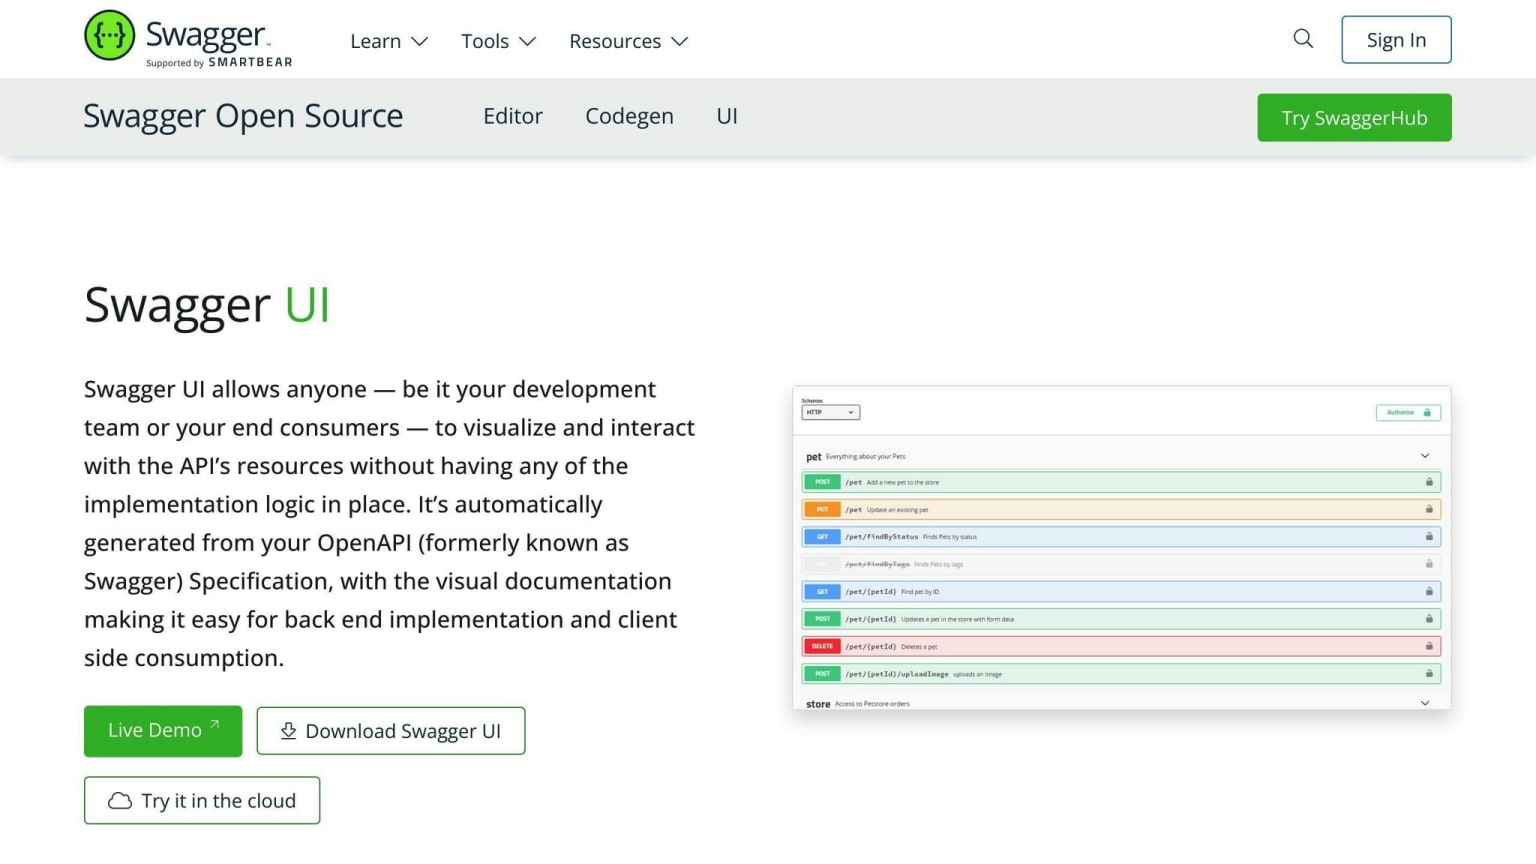
To generate Swagger UI documentation, we can use the Swagger Codegen tool. Here's an example of how we can generate Swagger UI documentation:
swagger-codegen generate -i path/to/openapi/spec.yaml -l html -o path/to/output/folder
This command generates an HTML file that contains our API documentation. We can then serve this file using a web server, allowing API consumers to access our documentation.
ReDoc
To generate ReDoc documentation, we can use the ReDoc CLI tool. Here's an example of how we can generate ReDoc documentation:
redoc-cli bundle path/to/openapi/spec.yaml --output path/to/output/folder
This command generates an HTML file that contains our API documentation. We can then serve this file using a web server, allowing API consumers to access our documentation.
Benefits of Interactive Documentation
Generating interactive documentation provides several benefits. It allows API consumers to test endpoints directly, reducing the time it takes to understand and integrate our API. It also provides a user-friendly interface for exploring our API, making it easier for developers to get started with our API.
In the next step, we'll explore how to customize our API documentation to better suit our needs.
Step 5: Customize API Docs
Now that we've generated our OpenAPI documentation, it's time to customize it to better suit our needs. OpenAPI provides several customization options that allow us to organize our API documentation in a way that's easy to understand and navigate.
Organizing Endpoints into Groups
We can organize our endpoints into groups by adding a tags field to our OpenAPI specification. This allows us to categorize our endpoints into logical groups, making it easier for API consumers to find the information they need.
For example:
paths:
  /users:
    get:
      summary: Get a list of users
      tags:
        - users
  /orders:
    get:
      summary: Get a list of orders
      tags:
        - orders
Adding Descriptive Summaries
We can add descriptive summaries to our endpoints by adding a summary field to our OpenAPI specification. This provides a brief description of what each endpoint does, making it easier for API consumers to understand how to use our API.
For example:
paths:
  /users:
    get:
      summary: Retrieves a list of users, including their names and email addresses
      responses:
        200:
          description: A list of users
  /orders:
    get:
      summary: Retrieves a list of orders, including their dates and totals
      responses:
        200:
          description: A list of orders
Specifying Response Models
We can specify response models for each endpoint by adding a responses field to our OpenAPI specification. This defines the structure of the response data, making it easier for API consumers to understand what to expect from each endpoint.
For example:
paths:
  /users:
    get:
      summary: Retrieves a list of users, including their names and email addresses
      responses:
        200:
          description: A list of users
          content:
            application/json:
              schema:
                type: array
                items:
                  $ref: '#/components/schemas/User'
  /orders:
    get:
      summary: Retrieves a list of orders, including their dates and totals
      responses:
        200:
          description: A list of orders
          content:
            application/json:
              schema:
                type: array
                items:
                  $ref: '#/components/schemas/Order'
By customizing our API documentation using these options, we can make it easier for API consumers to understand and use our API. In the next step, we'll explore how to integrate our API documentation into our CI/CD pipeline.
Step 6: Integrate Docs into CI/CD
Now that we've customized our API documentation, it's essential to integrate it into our Continuous Integration and Continuous Deployment (CI/CD) pipeline. This ensures that our documentation remains current with each code update, providing API consumers with accurate and up-to-date information.
Why Integrate Docs into CI/CD?
Integrating our API documentation into our CI/CD pipeline helps us:
- Ensure documentation accuracy: By validating the committed documentation against the current API status, we can ensure that our documentation is always up-to-date.
- Catch documentation errors early: If a developer updates the API but forgets to update the documentation, our CI/CD pipeline will catch the error, preventing inaccurate documentation from being published.
How to Integrate Docs into CI/CD
To integrate our API documentation into our CI/CD pipeline, we can add a new step that:
- Generates the latest OpenAPI documentation: We can use a tool like Swagger to generate the latest OpenAPI documentation from our deployed service.
- Compares the latest documentation with the committed file: We can use a diff tool to compare the generated documentation with the committed file. If there are any differences, the pipeline will fail.
Here's an example of how this can be achieved:
# Generate the latest OpenAPI documentation
openapi_latest=$(swagger generate spec -o openapi_latest.json)

# Compare the latest documentation with the committed file
if! diff openapi_latest.json./docs/swagger/openapi.json; then
  echo "Error: Committed OpenAPI documentation is out of sync with the latest API status"
  exit 1
fi
By integrating our API documentation into our CI/CD pipeline, we can ensure that our documentation remains accurate and up-to-date, providing a better experience for API consumers. In the next step, we'll explore how to review and publish our API documentation.
Step 7: Review and Publish Docs
The final step in automating API documentation with OpenAPI is to review and publish the generated documentation. This crucial step ensures that the documentation is accurate, complete, and easy to understand before making it available to users.
Review Process
The review process involves checking the generated documentation for accuracy, completeness, and usability. This may include peer reviews or stakeholder approvals to ensure that the documentation meets the required standards.
Best Practices for Reviewing OpenAPI Documentation
When reviewing OpenAPI documentation, keep the following best practices in mind:
| Best Practice | Description |
|---|---|
| Clear and concise language | Ensure that the documentation is written in a clear and concise language that is easy to understand. |
| Examples and use cases | Include examples and use cases to help developers understand how to use the API in real-world scenarios. |
| Formatting and organization | Use headings, bullet points, and other formatting options to make the documentation easy to read and navigate. |
| Up-to-date documentation | Ensure that the documentation is updated regularly to reflect changes to the API. |
Publishing the Documentation
Once the documentation has been reviewed and approved, it's ready to be published. There are several ways to publish OpenAPI documentation, including:
- Static site generation: Use tools like Jekyll or Hugo to generate a static site from the OpenAPI documentation.
- API documentation portals: Use portals like SwaggerHub or ReadMe to host and manage the OpenAPI documentation.
- Version control systems: Store the OpenAPI documentation in a version control system like GitHub or GitLab.
By following these steps, you can ensure that your OpenAPI documentation is accurate, complete, and easy to use, providing a better experience for API consumers.
Conclusion: Benefits of OpenAPI Automation
By following the 7 steps outlined in this guide, you can automate your API documentation using OpenAPI, saving time and effort while ensuring accuracy and consistency. Here are the key benefits of OpenAPI automation:
Improved Documentation
OpenAPI automation ensures that your documentation is always up-to-date and reflects the latest changes to your API.
Time-Efficient
Automating API documentation with OpenAPI frees up valuable resources, allowing your team to focus on more critical tasks.
Better Developer Experience
OpenAPI documentation provides a clear and concise understanding of your API, making it easier for developers to use and integrate your API into their applications.
Enhanced Collaboration
OpenAPI enables collaboration across teams and organizations, ensuring that everyone is on the same page when it comes to API design and development.
By adopting OpenAPI automation, you can streamline your API documentation process, reduce costs, and improve the overall quality of your API.
FAQs
How to generate Swagger documentation for a REST API automatically?

To generate Swagger documentation automatically, follow these steps:
| Step | Action |
|---|---|
| 1 | Head over to Swagger Inspector. |
| 2 | Insert the endpoint of the resource you want to document. |
| 3 | Navigate to the right panel from the History section of Swagger Inspector. |
| 4 | Click "Create API definition" to create the OAS definition. |
By following these steps, you can easily generate Swagger documentation for your REST API without manual effort.