
Learn how to use Retrofit for Android app development. This beginner's guide covers setup, API integration, network requests, and best practices.
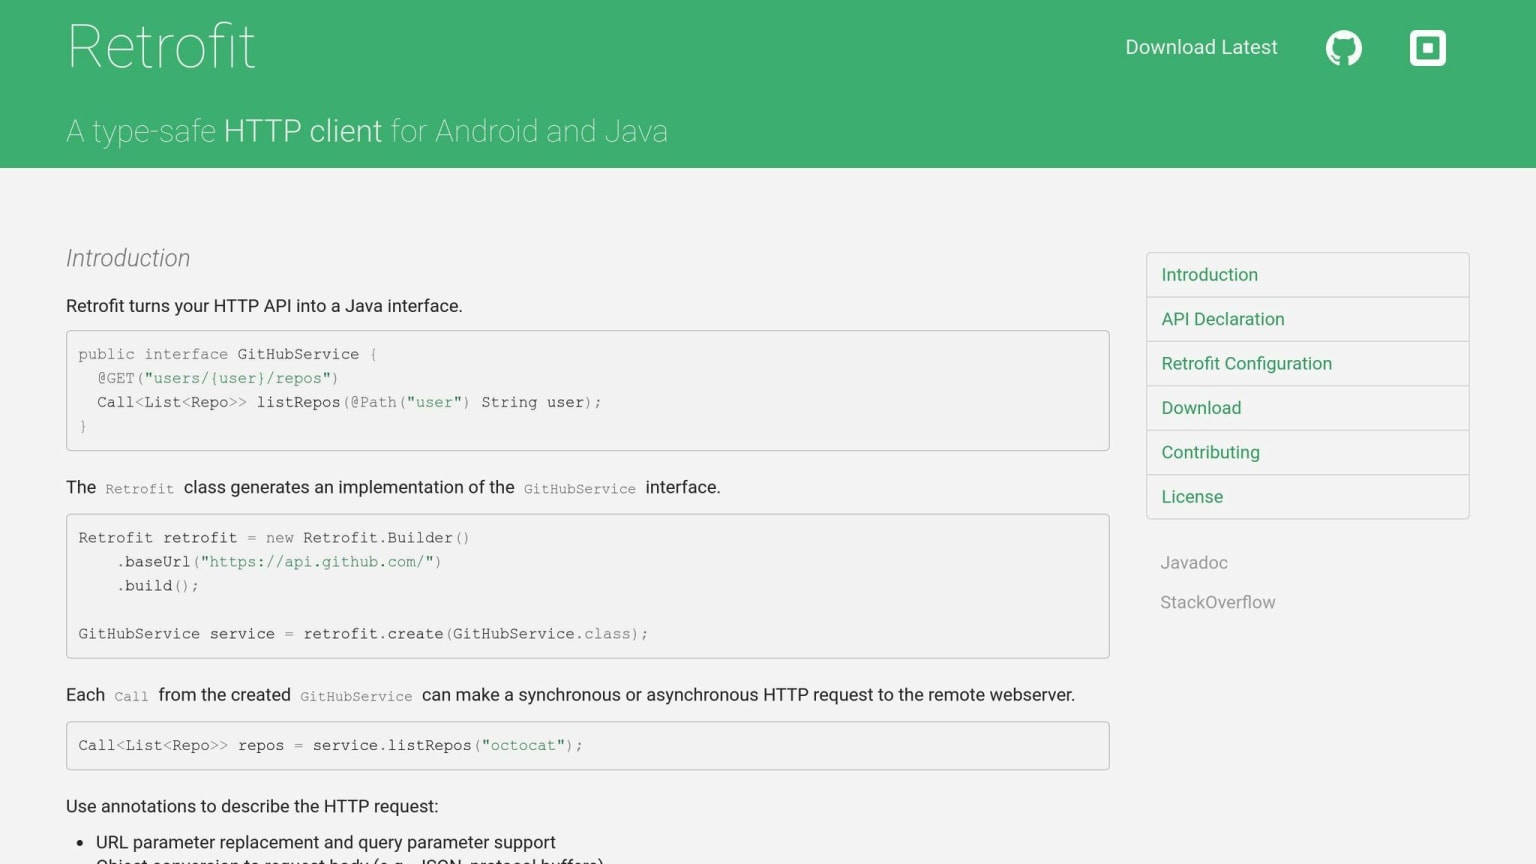
Retrofit is a popular networking library for Android that simplifies integrating RESTful web services into your apps. It allows you to easily define API endpoints, make HTTP requests, and handle responses.
Related video from YouTube
Key Benefits of Retrofit
- Easy to Use: Retrofit provides a simple way to interact with web services through annotated Java interfaces.
- Type Safety: It ensures type safety, preventing errors due to incorrect data types.
- Synchronous and Asynchronous Calls: Supports both synchronous and asynchronous network requests.
Setting Up Retrofit
- Add Retrofit and Gson dependencies to your
build.gradlefile:
dependencies {
    implementation 'com.squareup.retrofit2:retrofit:2.9.0'
    implementation 'com.squareup.retrofit2:converter-gson:2.9.0'
}
- Create a Retrofit instance with your base URL and converter factory:
Retrofit retrofit = new Retrofit.Builder()
  .baseUrl("https://api.example.com/")
  .addConverterFactory(GsonConverterFactory.create())
  .build();
Defining API Endpoints
Define your API endpoints using annotations on an interface:
public interface API {
    @GET("users")
    Call<List<User>> getUsers();
}
Making Network Requests
- Create a call object:
API api = retrofit.create(API.class);
Call<List<User>> call = api.getUsers();
- Execute the call asynchronously:
call.enqueue(new Callback<List<User>>() {
    @Override
    public void onResponse(Call<List<User>> call, Response<List<User>> response) {
        List<User> users = response.body();
        // Handle the response
    }

    @Override
    public void onFailure(Call<List<User>> call, Throwable t) {
        // Handle the error
    }
});
By following this guide, you'll learn how to integrate Retrofit into your Android app and efficiently handle network operations.
Setting Up Your Android Project
To start using Retrofit in your Android project, you need to add the required dependencies and configure your Retrofit instance. This section will guide you through the step-by-step process.
Adding Required Dependencies
To use Retrofit, you need to add two dependencies to your build.gradle file:
| Dependency | Description |
|---|---|
| Retrofit library | The main Retrofit library |
| Gson converter | Optional, but recommended for JSON serialization and deserialization |
Add the following lines to your build.gradle file:
dependencies {
    implementation 'com.squareup.retrofit2:retrofit:2.9.0'
    implementation 'com.squareup.retrofit2:converter-gson:2.9.0'
}
Configuring Your Retrofit Instance
Once you've added the dependencies, you need to configure your Retrofit instance. This involves setting up the base URL and selecting a converter factory for serialization and deserialization.
Create a new instance of Retrofit using the Retrofit.Builder class:
Retrofit retrofit = new Retrofit.Builder()
  .baseUrl("https://api.example.com/") // Your base URL
  .addConverterFactory(GsonConverterFactory.create())
  .build();
In this example, we're using the GsonConverterFactory to serialize and deserialize JSON data. You can choose a different converter factory depending on your needs.
That's it! You've successfully set up your Android project for Retrofit integration. In the next section, we'll explore how to create your API interface using Retrofit annotations.
Creating Your API Interface
Learn how to define your API endpoints using Retrofit annotations.
Defining Endpoints with Annotations
In Retrofit, you define your API endpoints using annotations on interface methods. These annotations specify the HTTP method, URL, and other parameters required for the request.
Here's an example of an interface that defines a simple API endpoint:
public interface API {
    @GET("users")
    Call<List<User>> getUsers();
}
In this example, the @GET annotation specifies that the getUsers() method should make a GET request to the /users endpoint. The Call<List<User>> return type indicates that the method will return a list of User objects.
Retrofit provides various annotations for different HTTP methods, including @POST, @PUT, @DELETE, and @HEAD.
Handling Dynamic URLs
Retrofit allows you to handle dynamic URL parts and query parameters using annotations.
Dynamic URL Parts
You can use the @Path annotation to specify dynamic URL parts. For example:
public interface API {
    @GET("users/{id}")
    Call<User> getUser(@Path("id") int userId);
}
In this example, the @Path annotation specifies that the userId parameter should be used to replace the {id} placeholder in the URL.
Query Parameters
You can use the @Query annotation to specify query parameters. For example:
public interface API {
    @GET("users")
    Call<List<User>> getUsers(@Query("page") int page, @Query("per_page") int perPage);
}
In this example, the @Query annotation specifies that the page and perPage parameters should be used as query parameters in the URL.
By using Retrofit annotations, you can easily define your API endpoints and configure the HTTP operations required for your Android app.
Making Network Requests
Making network requests is a crucial part of any Android app that interacts with a server. Retrofit provides a simple and efficient way to make these requests. In this section, we'll explore how to create calls and manage responses using Retrofit.
Creating Calls and Managing Responses
To make a network request using Retrofit, you need to create a call object that represents the request. You can do this by calling the API method on the Retrofit instance. For example:
Retrofit retrofit = new Retrofit.Builder()
  .baseUrl("https://api.example.com/")
  .build();

API api = retrofit.create(API.class);

Call<User> call = api.getUser(1);
In this example, we create a Retrofit instance with a base URL and then use it to create an API instance. We then call the getUser() method on the API instance, passing in the user ID as a parameter. This returns a Call<User> object, which represents the request.
To execute the request, you can use the enqueue() method, which runs the request asynchronously:
call.enqueue(new Callback<User>() {
    @Override
    public void onResponse(Call<User> call, Response<User> response) {
        if (response.isSuccessful()) {
            User user = response.body();
            // Handle the user object
        } else {
            // Handle the error
        }
    }

    @Override
    public void onFailure(Call<User> call, Throwable t) {
        // Handle the failure
    }
});
Alternatively, you can use the execute() method to run the request synchronously:
Response<User> response = call.execute();
Error Handling and Exceptions
Error handling is an essential part of any network request. Retrofit provides a robust error handling mechanism that allows you to handle errors and exceptions in a centralized way.
When a request fails, Retrofit will throw an exception. You can catch this exception and handle it accordingly. For example:
try {
    Response<User> response = call.execute();
} catch (IOException e) {
    // Handle the IO exception
} catch (RuntimeException e) {
    // Handle the runtime exception
}
Retrofit also provides a way to handle HTTP errors using the Response object. You can check the response code and handle errors accordingly:
Response<User> response = call.execute();
if (!response.isSuccessful()) {
    // Handle the HTTP error
}
By using Retrofit's error handling mechanism, you can ensure that your app handles errors and exceptions in a robust and reliable way.
Advanced Retrofit Features
Retrofit offers several advanced features that can help you fully utilize its capabilities for complex network operations.
Using OkHttp and Interceptors
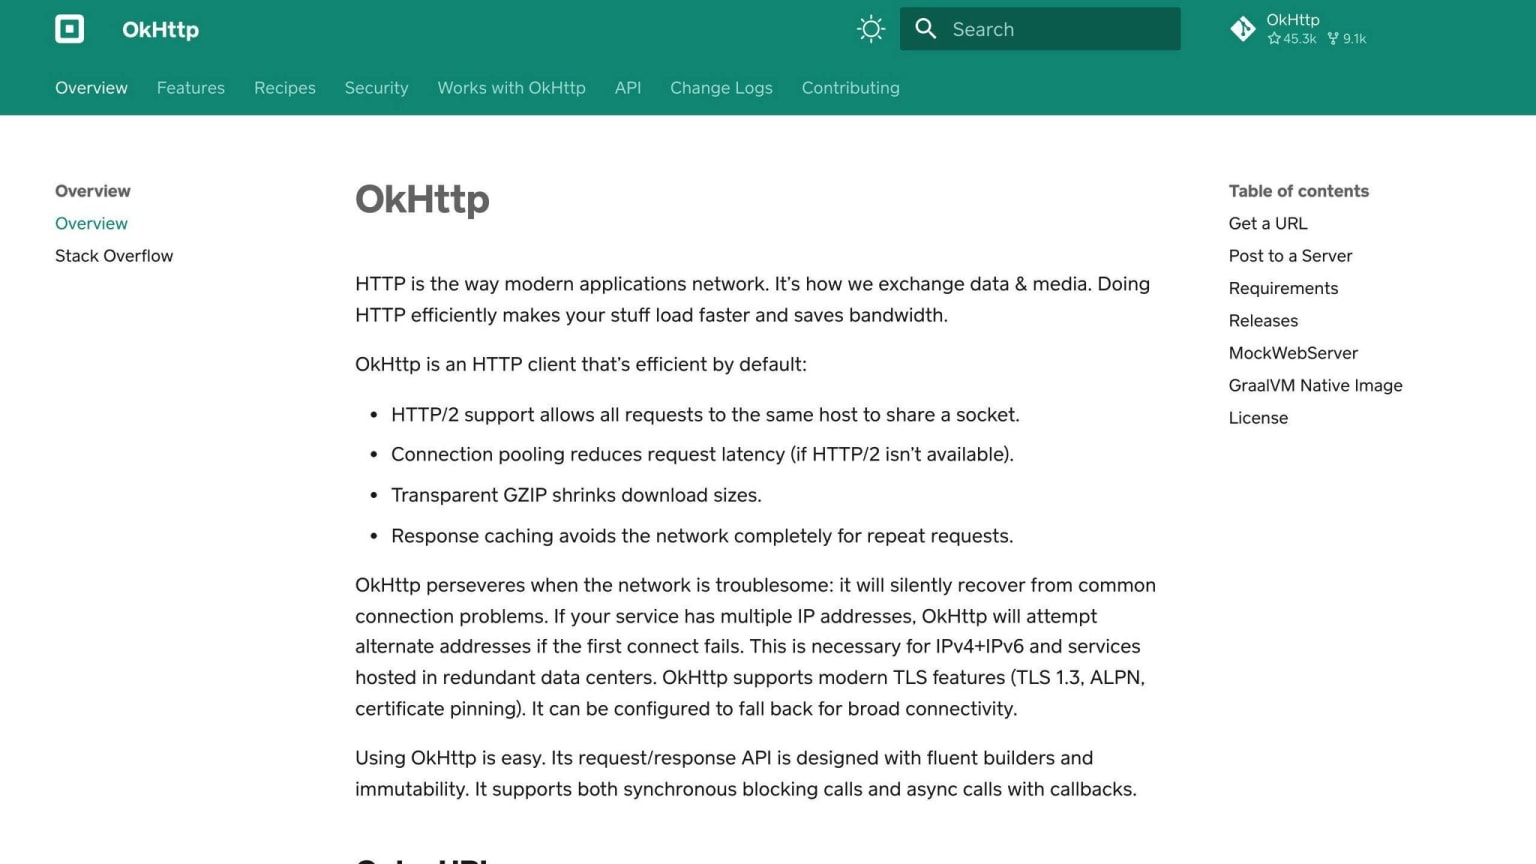
OkHttp is a powerful HTTP client that provides additional features like logging, modifying requests, and managing retries. You can use OkHttp alongside Retrofit to add custom interceptors to your requests. Interceptors are a powerful way to modify or log requests and responses in your application.
For example, you can use an interceptor to add a custom header to all your requests:
OkHttpClient client = new OkHttpClient.Builder()
  .addInterceptor(new Interceptor() {
        @Override
        public Response intercept(Chain chain) throws IOException {
            Request request = chain.request().newBuilder()
                  .header("Custom-Header", "Custom-Value")
                  .build();
            return chain.proceed(request);
        }
    })
  .build();
You can also use interceptors to log requests and responses, which can be helpful for debugging purposes.
Implementing Authentication
Retrofit provides several ways to add authentication to your requests, including using interceptors and annotations.
For example, you can use an interceptor to add a Bearer token to all your requests:
OkHttpClient client = new OkHttpClient.Builder()
  .addInterceptor(new Interceptor() {
        @Override
        public Response intercept(Chain chain) throws IOException {
            Request request = chain.request().newBuilder()
                  .header("Authorization", "Bearer " + token)
                  .build();
            return chain.proceed(request);
        }
    })
  .build();
You can also use annotations to add authentication to specific requests. For example, you can use the @Header annotation to add a custom header to a request:
public interface GitHubService {
    @GET("users/{user}/repos")
    Call<List<Repo>> listRepos(@Path("user") String user, @Header("Authorization") String token);
}
Custom Converters and Adapters
Retrofit provides several built-in converters for popular serialization formats like JSON and XML. However, you can also create custom converters to support other formats or integrate with other libraries.
For example, you can create a custom converter to support Protocol Buffers:
public class ProtobufConverter implements Converter.Factory {
    @Override
    public Converter<?, RequestBody> requestBodyConverter(Type type, Annotation[] annotations, Retrofit retrofit) {
        // Implement the converter
    }

    @Override
    public Converter<ResponseBody,?> responseBodyConverter(Type type, Annotation[] annotations, Retrofit retrofit) {
        // Implement the converter
    }
}
You can then add the custom converter to your Retrofit instance:
Retrofit retrofit = new Retrofit.Builder()
  .baseUrl("https://api.example.com/")
  .addConverterFactory(new ProtobufConverter())
  .build();
By using custom converters and adapters, you can extend Retrofit's functionality to support a wide range of serialization formats and libraries.
Retrofit Examples
Here are some practical examples that demonstrate how Retrofit is used in real Android applications.
Fetching Data Example
Let's say we want to fetch a list of users from a server using Retrofit. First, we need to define our API interface:
public interface UserService {
    @GET("users")
    Call<List<User>> getUsers();
}
Next, we need to create a Retrofit instance and call the getUsers() method:
Retrofit retrofit = new Retrofit.Builder()
 .baseUrl("https://api.example.com/")
 .build();

UserService userService = retrofit.create(UserService.class);
Call<List<User>> call = userService.getUsers();
Finally, we can execute the call and handle the response:
call.enqueue(new Callback<List<User>>() {
    @Override
    public void onResponse(Call<List<User>> call, Response<List<User>> response) {
        List<User> users = response.body();
        // Handle the list of users
    }

    @Override
    public void onFailure(Call<List<User>> call, Throwable t) {
        // Handle the error
    }
});
Posting Data Example
Now, let's say we want to post a new user to the server using Retrofit. First, we need to define our API interface:
public interface UserService {
    @POST("users")
    Call<User> createUser(@Body User user);
}
Next, we need to create a Retrofit instance and call the createUser() method:
Retrofit retrofit = new Retrofit.Builder()
 .baseUrl("https://api.example.com/")
 .build();

UserService userService = retrofit.create(UserService.class);
User user = new User("John Doe", "johndoe@example.com");
Call<User> call = userService.createUser(user);
These examples demonstrate how Retrofit can be used to make HTTP requests in Android applications.
Best Practices for Retrofit
To get the most out of Retrofit in your Android projects, follow these best practices for efficient and reliable networking.
Singleton Instance for Retrofit
Create a singleton class to manage the Retrofit instance. This ensures only one instance is created, which helps avoid resource leaks and poor performance.
public class RetrofitInstance {
    private static Retrofit retrofit;
    private static final String BASE_URL = "https://api.example.com/";

    private RetrofitInstance() {}

    public static Retrofit getRetrofitInstance() {
        if (retrofit == null) {
            retrofit = new Retrofit.Builder()
                  .baseUrl(BASE_URL)
                  .build();
        }
        return retrofit;
    }
}
Effective Error Handling
Handle errors effectively to provide a better user experience. Use Retrofit's callback methods, such as onFailure(), to handle specific error scenarios.
Caching for Performance
Implement caching to improve your app's performance and reduce data usage. Use OkHttp and Retrofit to cache responses and reduce network requests.
| Caching Strategy | Description |
|---|---|
| Cache-Control | Set cache headers to control caching behavior |
| OkHttp Interceptor | Add an interceptor to your OkHttp client to cache responses |
By following these best practices, you can ensure a reliable and efficient networking experience in your Android applications using Retrofit.
Conclusion
Key Takeaways
In this guide, we've covered the basics of Retrofit for Android beginners. You've learned how to set up Retrofit, define API endpoints, create model classes, and make API calls. We've also explored advanced features like OkHttp and interceptors, authentication, and custom converters.
Next Steps
Now that you have a solid understanding of Retrofit, it's time to take your skills to the next level. Here are some recommendations for further learning and exploration:
| Next Steps | Description |
|---|---|
| Explore Retrofit's official documentation | Learn more about Retrofit's features and examples |
| Take online courses and tutorials | Improve your skills in Android networking and Retrofit |
| Join online communities and forums | Connect with other developers and get help with Retrofit-related issues |
| Experiment with different APIs and projects | Practice your Retrofit skills and learn from real-world examples |
By following these steps, you'll be well-equipped to integrate Retrofit into your Android projects and build efficient, scalable, and reliable networking systems.
Remember, practice makes perfect. Keep learning, experimenting, and improving your skills to become proficient in Retrofit and Android development. Happy coding!
FAQs
What is Retrofit in networking?
Retrofit is a popular Android library that simplifies network requests. It allows developers to define API endpoints as simple Java interfaces with annotations, making it easier to interact with RESTful APIs.
How do I use Retrofit on Android?
To use Retrofit on Android, follow these steps:
| Step | Description |
|---|---|
| 1 | Create a new project in Android Studio. |
| 2 | Add the Retrofit dependency to your build.gradle file. |
| 3 | Create a new Java class for your API interface, defining endpoints with annotations. |
| 4 | Implement the API interface, making network requests and handling responses. |
| 5 | Add permissions to your AndroidManifest.xml file, if necessary. |
By following these steps, you can effectively use Retrofit to make network requests in your Android app.