
Quickly set up your Rust development environment with essential tools and learn to write your first program for powerful and safe coding.
Here's how to get started with Rust:
- Install Rust via rustup (https://rustup.rs/)
- Set up VS Code with Rust extensions
- Learn Cargo basics
- Write your first Rust program
- Use rustfmt and Clippy
Key tools:
- rustc (compiler)
- Cargo (package manager)
- VS Code (recommended editor)
- rustfmt (formatter)
- Clippy (linter)
Quick start:
# Install Rust
curl --proto '=https' --tlsv1.2 -sSf https://sh.rustup.rs | sh

# New project
cargo new hello_world
cd hello_world

# Build and run
cargo run
Let's walk through setting up Rust, using key tools, and writing your first program.
Related video from YouTube
What You Need Before Starting
Make sure you have:
Computer Requirements
| Component | Minimum | Recommended |
|---|---|---|
| OS | Windows 8.1 64-bit / macOS 10.11 | Latest Windows/macOS |
| CPU | Intel i7-3770 / AMD FX-9590 | Intel i7-4790K / AMD Ryzen 5 1600 |
| RAM | 10 GB | 16 GB |
| Storage | 25 GB free | 25 GB SSD |
SSD recommended for faster loads.
Basic Command-Line Skills
You should know how to:
- Navigate directories
- Create/delete files and folders
- Run commands
- Understand file permissions
To install Rust:
$ curl https://sh.rustup.rs -sSf | sh
This installs rustc and cargo.
On macOS, you may need Xcode tools:
$ xcode-select --install
How to Install Rust
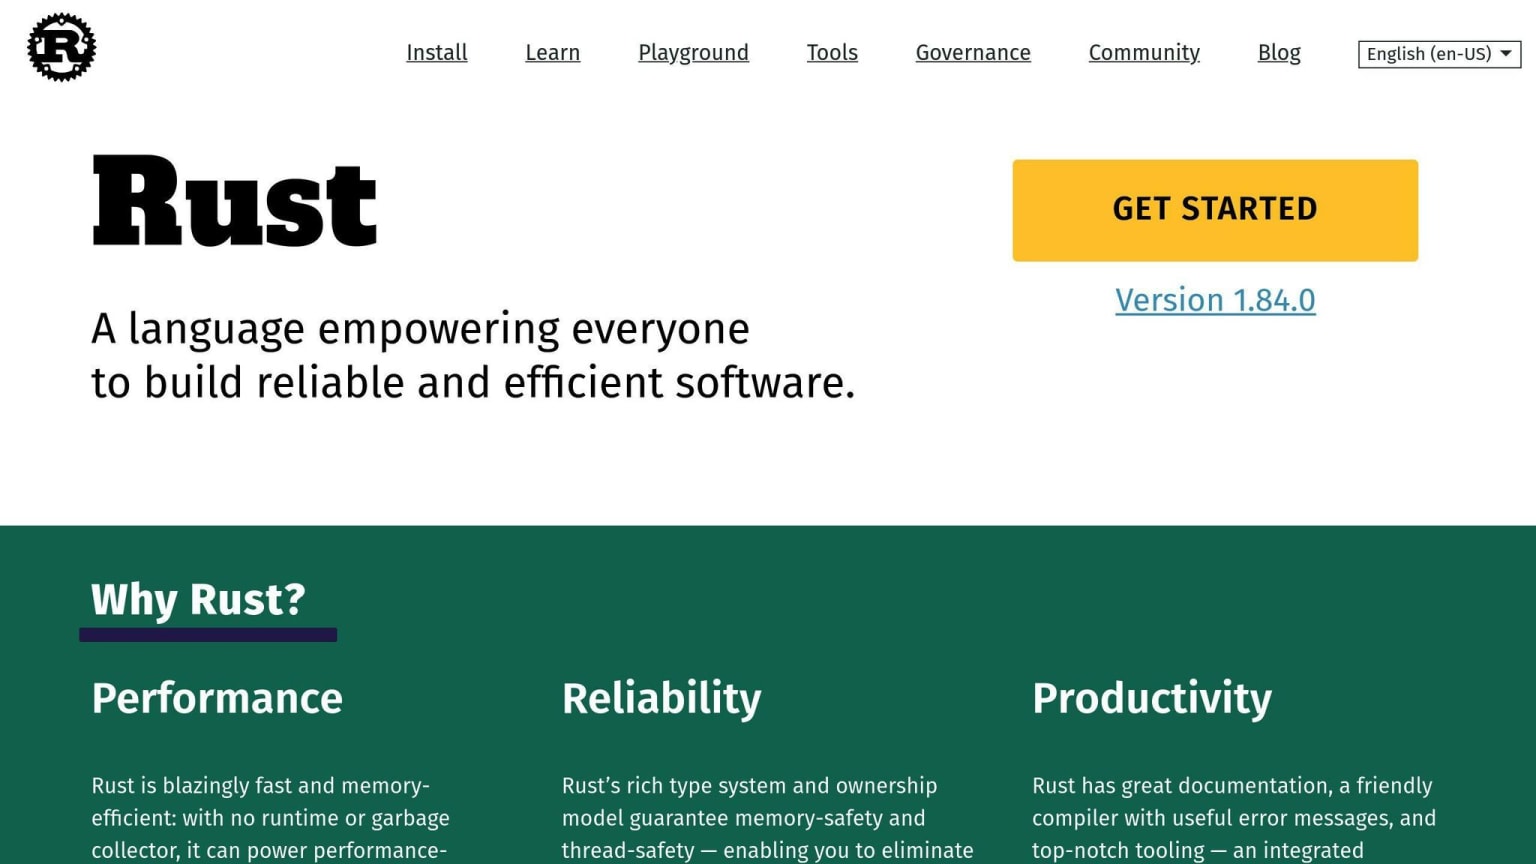
Here's how to get Rust running:
Using rustup to Install
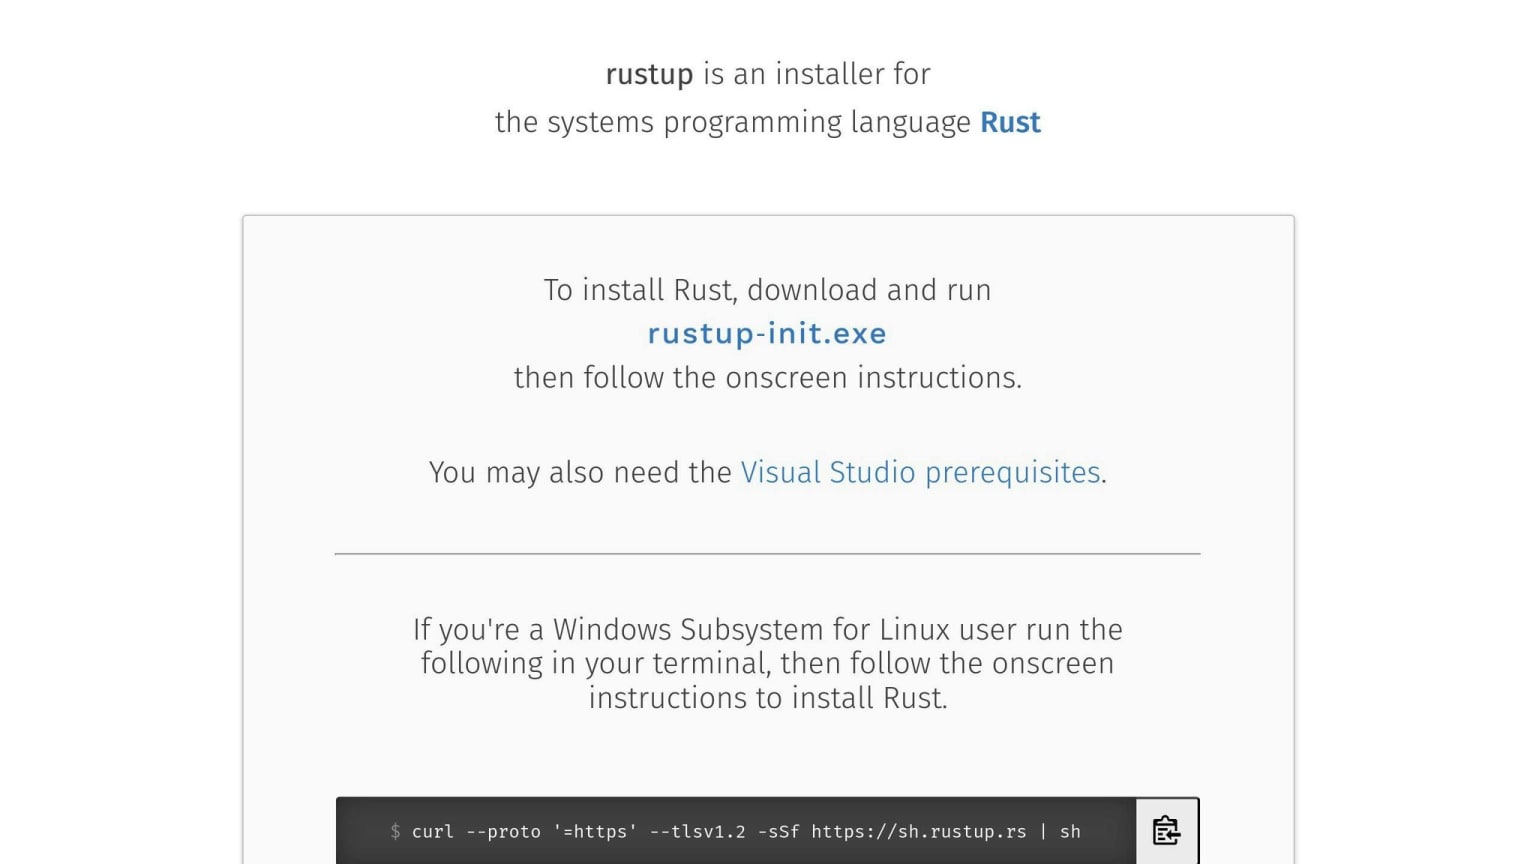
- Open your terminal
- Run:
curl --proto '=https' --tlsv1.2 -sSf https://sh.rustup.rs | sh
- Follow the prompts
Windows Installation
- Download rustup-init.exe
- Run it and choose the default option
macOS/Linux Installation
Use the curl command above.
Checking Your Installation
Open a new terminal and run:
rustc --version
If you see a version number, you're set.
Setting Up Your Code Editor
VS Code is great for Rust. To set it up:
- Install VS Code
- Install the rust-analyzer extension
- Install CodeLLDB for debugging
Useful add-ons:
- Even Better TOML
- crates
- Error Lens
Test your setup with a simple "Hello World" program.
Using Cargo: Rust's Package Manager
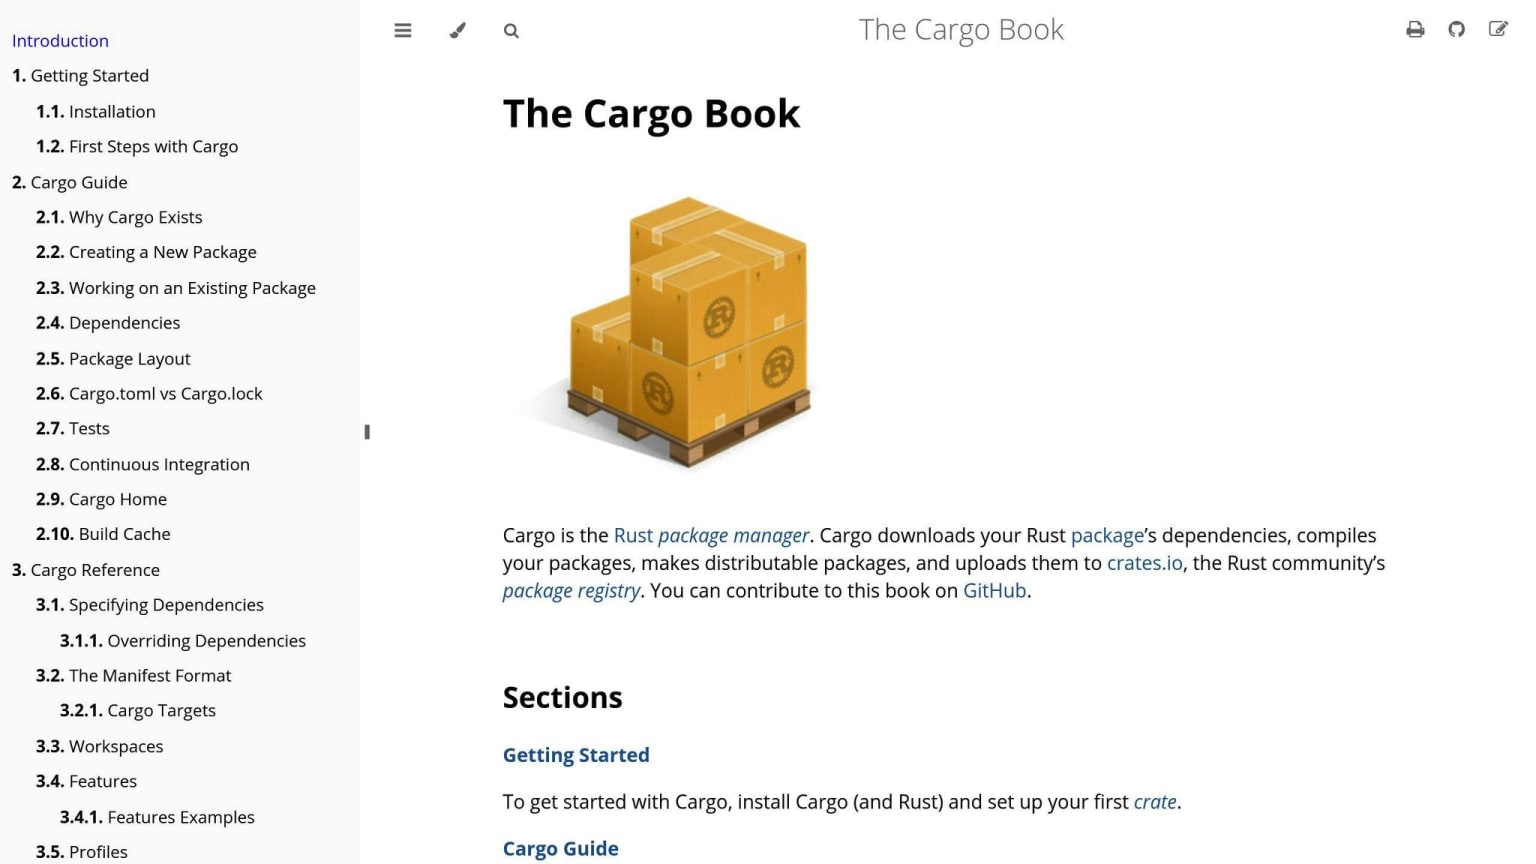
Cargo handles building, dependencies, and more.
To start a new project:
$ cargo new hello_rust
This creates:
hello_rust/
├── Cargo.toml
└── src/
    └── main.rs
The Cargo.toml file manages your project:
[package]
name = "hello_rust"
version = "0.1.0"
edition = "2021"

[dependencies]
Add dependencies under [dependencies].
Key Cargo commands:
| Command | Description |
|---|---|
| cargo build | Compiles project |
| cargo run | Compiles and runs |
| cargo test | Runs tests |
| cargo check | Checks for errors |
Writing Your First Rust Program
Let's make a "Hello, World!" app:
- Create main.rs:
fn main() {
    println!("Hello, world!");
}
- Compile and run:
$ rustc main.rs
$ ./main
Or with Cargo:
$ cargo run
Finding and Fixing Bugs in Rust
Use these methods to debug:
- println! macro for tracking values
- Implement Debug trait for easy printing
- Write tests with #[test] attribute
- Use Result type for error handling
- Add logging with the log crate
Working with Dependencies
Add libraries to Cargo.toml:
[dependencies]
time = "0.1.12"
Or use cargo add:
cargo add regex
Update dependencies:
cargo update
Keeping Your Code Clean
Use rustfmt to format code:
cargo fmt
Use Clippy to check for issues:
cargo clippy
Testing Your Rust Code
Write tests in your code:
#[cfg(test)]
mod tests {
    use super::*;

    #[test]
    fn it_works() {
        assert_eq!(2 + 2, 4);
    }
}
Run tests with:
cargo test
Tips for Good Rust Programming
- Use modules to organize code
- Handle errors with Result type
- Write clear documentation
Solving Common Problems
For help, check:
- Official Rust Forum
- Rust Discord
- Stack Overflow
- Reddit (r/rust, r/learnrust)
Keep coding and enjoy Rust's power and safety!