
Learn how to set up a Node.js Express project from scratch. Install Node.js, create a basic server, organize your project, and dive into advanced features for web development.
Starting a project with Node.js and Express can be exciting and a bit daunting if you're new to backend development. Here's a quick guide to get you going:
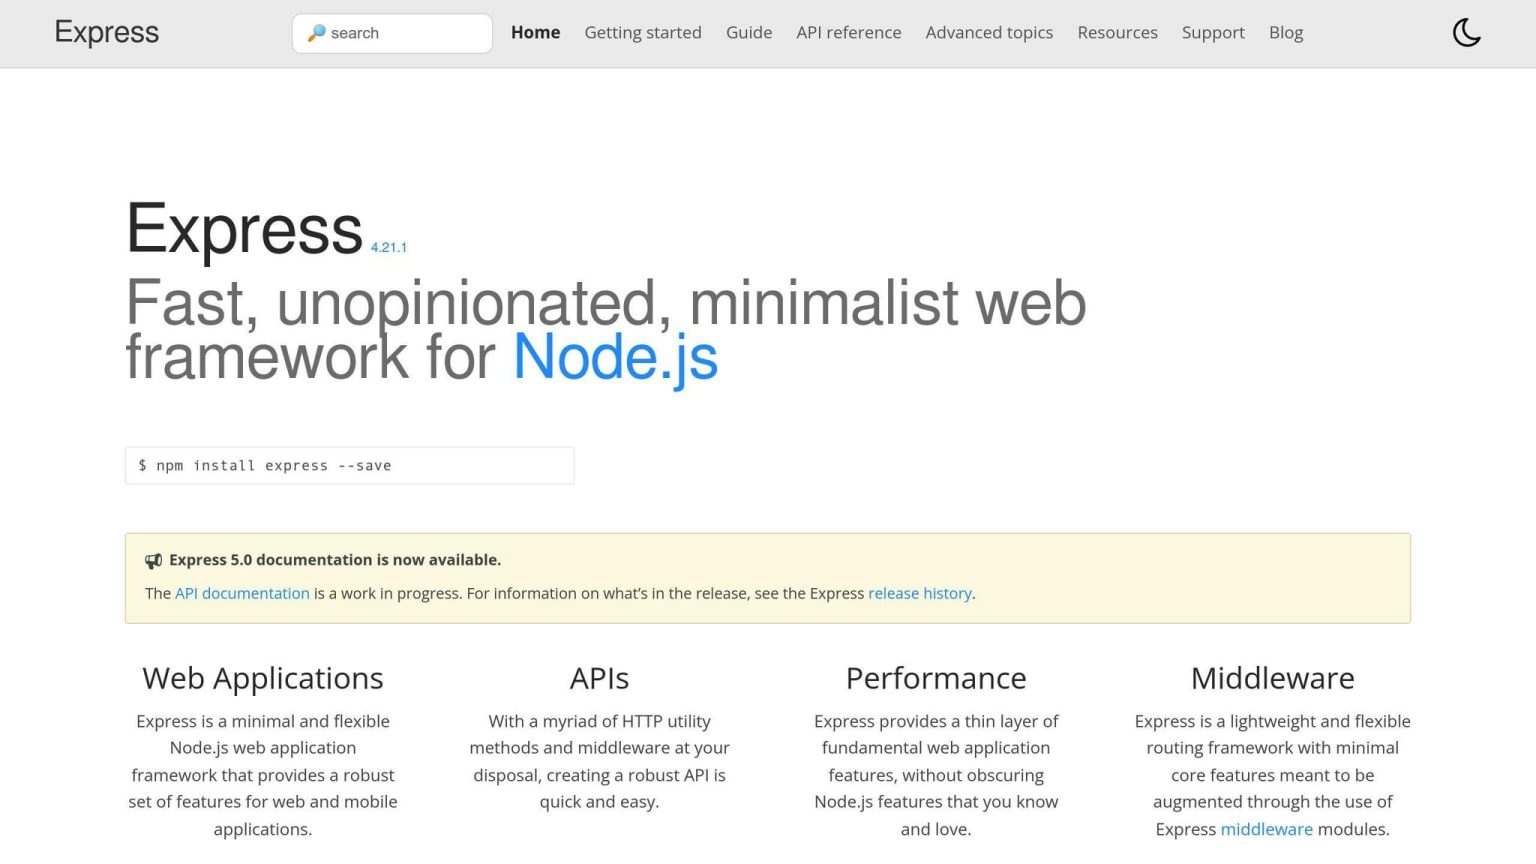
- Install Node.js and Express: First things first, ensure you have Node.js installed. Then, using npm, install Express in your project.
- Set Up Your Project: Use
npm initto start your project, creating apackage.jsonthat tracks project details. - Create a Basic Server with Express: Learn to define routes and respond to requests like 'Hello World'.
- Organize Your Project: Set up a neat folder structure for your project to keep your code organized.
- Dive into More Advanced Features: Explore setting configurations, using template engines for dynamic pages, handling errors gracefully, and structuring your app for growth.
By the end of this guide, you'll have a basic understanding of setting up a Node.js Express project, organizing it, and implementing key features for a solid foundation in web development.
What this guide covers
This guide walks through setting up a Node.js and Express project from scratch: installing Node.js (with nvm recommended for version management), initializing a project with npm init, installing Express, defining routes, applying middleware, handling errors, and organizing your app with routers, models, and controllers. All steps work with current LTS Node.js releases.
Setting Up a Node.js Project
Installing Node.js
First, you need to get Node.js on your computer. Head over to the Node.js website and grab the latest version that works for you.
On Windows:
Just download the .msi file and go through the setup steps.
On MacOS:
It's a good idea to use something called nvm to manage your Node.js versions. Check out the nvm guide, then type:
nvm install node
On Linux:
You can use your Linux package manager, or just follow the nvm steps above.
Getting Your Project Ready
Open your terminal and go to where you want your project to be. Start a new Node.js project by typing:
npm init
Answer the questions to create a package.json file. This file keeps track of your project details and the packages you use.
Adding Express
To add Express, which helps you manage your server, type:
npm install express
This command adds Express to your project and lists it as a necessary package in package.json.
How to Organize Your Project
A good way to set up your project's folders might look like this:
/project
  /node_modules
  /public
    /images
    /javascripts
  /routes
  /views
  app.js
  package.json
/node_modules- Where your project's packages live/public- Where your images and JavaScript files go/routes- Where you define paths your app will use/views- Where the files that make up your website's pages areapp.js- The main file that starts your apppackage.json- Contains info about your project
This setup helps you keep things tidy and makes your project easier to handle.
Building a Basic Express Server
Require Express
First, we need to let our app know we're going to use Express. We do this at the beginning of our app.js file like this:
const express = require('express');
This line of code grabs the Express module so we can use it. Next up, we create our app:
const app = express();
Now, app is our Express application, ready to be set up.
Define Routes
Now, let's make a simple route. This is like telling our app how to say 'Hello World' when someone visits the home page:
app.get('/', (req, res) => {
  res.send('Hello World');
});
Here, we're setting up a route that listens for visits to the main page ('/') and responds with a message. For something different, here’s how to handle a form submission with POST:
app.post('/submit-form', (req, res) => {
  res.send('Form submitted');
});
This one listens for form submissions to '/submit-form' and responds accordingly.
Apply Middleware
Middleware is like a helper that can do things with the request and response. Here's how you can log each request:
app.use((req, res, next) => {
  console.log(`${req.method} request for ${req.url}`);
  next();
});
This code will print out what kind of request was made and to what URL, before moving on to the next bit of code.
Start the Server
Last step, we pick a port for our app to listen on and turn it on:
const port = 3000;

app.listen(port, () => {
  console.log(`Server listening on port ${port}`);
});
Now, our app will wait for people to visit it on port 3000.
Advanced Express Features
Configuring Settings
In Express apps, you can change settings with app.set(). Some usual settings include:
view engine- This tells Express which tool to use to make HTML from templates. Popular ones arepugorejs.views- Where your template files are kept.port- The port number your server listens on.
For instance:
app.set('view engine', 'pug');
app.set('views', path.join(__dirname, 'views'));
app.set('port', process.env.PORT || 3000);
This example chooses Pug for making HTML, sets where to find the templates, and picks a port number.
You can also control other things like debug mode or JSON spaces. The Express documentation has more info.
Using Template Engines
Template engines let you put JavaScript variables into HTML templates. Express works with many, like Pug, EJS, and Handlebars.
Here's how you might use Pug:
Template File
html
  head
    title= title
  body
    h1= message
Route File
app.get('/', (req, res) => {
  res.render('index', {
    title: 'My App',
    message: 'Hello world!'
  });
});
The res.render() mixes the data with the template to create HTML for the response.
Templates help keep your app organized by separating the display from the logic.
Handling Errors
It's important to deal with errors well. Express has a default error handler:
app.use(function (err, req, res, next) {
  console.error(err.stack)
  res.status(500).send('Something broke!')
});
This code logs errors and sends a 500 error response.
You can also make custom error handlers for specific situations:
app.get('/protected', function (req, res, next) {
  if (!req.user) {
    next(new Error('Unauthorized!'));
  } else {
    next();
  }
}, function (err, req, res, next) {
  if (err.message === 'Unauthorized!') {
    return res.status(401).send(err.message);
  }
});
This example checks if a user is logged in before letting them see /protected, and shows a 401 error if not.
Structuring Apps
As your Express app gets bigger, it's good to organize it:
- Routers - Split your routes into files like
users.jsandposts.js - Models - Put data operations in files like
User.js - Controllers - Use files like
UsersController.jsfor route logic - Middleware - Keep things like login checks in separate files
- Config - Put settings in files like
config.js - Errors - Deal with errors in
errors.jsor by error type
Organizing your code this way helps keep it clean and easy to manage as your app grows.
Common errors and how to fix them
Setting up a Node.js Express project is straightforward, but a handful of errors show up regularly for beginners. Here are the ones you are most likely to hit and what to do about them.
Cannot find module 'express'
This means Express was not installed, or you are running node app.js from the wrong directory. Fix: confirm you are inside the project folder, then run npm install express. Check that node_modules exists after the install completes.
Port already in use (EADDRINUSE: address already in use :::3000)
Another process is using port 3000. Either stop that process or change your port. Quick fix: change const port = 3000 to another port like 3001, or use process.env.PORT || 3000 to let the environment control it — which you should be doing anyway before deployment.
app.use middleware not running
Middleware must be defined before the routes that depend on it. If you define a middleware after your route handlers, Express has already matched the route and the middleware never runs. Move all app.use() calls to the top of your setup, before your route definitions.
req.body is undefined on POST routes
Express does not parse request bodies by default. You need to add the built-in JSON and URL-encoded body parsers before your routes:
app.use(express.json());
app.use(express.urlencoded({ extended: true }));
Note: in older Express 4 projects you may see body-parser as a separate package — in Express 4.16+ and Express 5, the built-in parsers above are the current approach.
Cannot set headers after they are sent
This error means a route handler is calling res.send() or res.json() more than once. Add return before your response calls to prevent the handler from continuing after sending a response.
Express 4 vs Express 5
Express 5 reached stable release. It changes how async errors are handled — unhandled Promise rejections in route handlers are forwarded to error-handling middleware automatically, removing the need to wrap async routes in try/catch or a wrapper function. If you are starting a new project, verify which major version you are installing and check the Express 5 migration guide for breaking changes.
Conclusion
Starting out with Node.js and Express is a solid step toward making web apps using JavaScript. Let's go over the main points we talked about:
- Installing Node.js and Express - Node.js lets you run JavaScript outside of a web browser, and Express helps manage servers and routes more easily.
- Making a simple Express app - We learned how to begin a project, use Express, set up an app, make routes to handle requests, use middleware, and start the app on a port.
- Important features - Express apps benefit from features like template engines for making web pages, error handling for fixing mistakes smoothly, and settings for tweaking how the app works.
- Organizing your app - When your app gets bigger, keeping it organized with routers, models, controllers, and more is key to handling its complexity.
To keep learning, look at the official guides for Express and Node.js. Also, these tutorials might help:
- Build a REST API with Node and Express
- Build a web app with Node.js and Express from scratch
- Express middleware explained
With Node.js and Express as your base, you're ready to create everything from simple servers to complex full-stack apps. Happy coding!