
Learn how to build interactive, real-time web applications with Phoenix LiveView using Elixir and Phoenix. Get started with key components, core concepts, best practices, and tips for better LiveView apps.
Phoenix LiveView is a powerful tool for building interactive, real-time web applications using Elixir and Phoenix. Here's what you need to know:
- Purpose: Create fast, scalable web apps with real-time updates
- Key Components:
mountfunction: Sets up initial statehandle_eventfunction: Responds to user actionsrenderfunction: Displays updated view
Quick Setup:
- Install Elixir and Phoenix
- Create a new Phoenix project
- Add LiveView to your project
- Build your first LiveView module
Core Concepts:
- DOM element bindings (e.g.,
phx-click) - Form handling and file uploads
- Page navigation without reloading
- Function components and LiveComponents
Best Practices:
- Improve performance with caching and optimized queries
- Use browser developer tools and Phoenix debugging tools
- Write tests with ExUnit and Wallaby
| Feature | Phoenix | Phoenix LiveView |
|---|---|---|
| Updates | Full page reload | Real-time, partial updates |
| Best for | Traditional web apps | Interactive, real-time apps |
| Process | New process per request | One process per WebSocket |
This tutorial will guide you through setting up and using Phoenix LiveView to create dynamic, responsive web applications.
Related video from YouTube
What this guide covers
This guide gets you started with Phoenix LiveView for building real-time, interactive web applications in Elixir. It covers installing Elixir and Phoenix, creating a new Phoenix project, adding LiveView, the three core functions (mount, handle_event, render), DOM bindings, form handling, file uploads, page navigation, organizing code with function components and LiveComponents, performance tips, debugging, and publishing. Suitable for developers who know web basics but are new to Elixir and Phoenix.
2. Before You Start
2.1 Installing Elixir and Phoenix
To begin with Phoenix LiveView, you need Elixir and Phoenix on your computer. Here's how to set them up:
- Install Elixir
- Go to https://elixir-lang.org/install.html
- Download and install Elixir for your operating system
- Install Phoenix
- Open your terminal
- Run this command:
mix archive.install https://github.com/phoenixframework/archives/raw/master/phx_new.ez
To check if everything is set up correctly, create a new Phoenix project:
- In your terminal, type:
mix phx.new my_app(replace "my_app" with any name you like)
2.2 What You Need to Know
To use Phoenix LiveView well, you should understand:
| Topic | Description |
|---|---|
| Elixir basics | Data types, functions, modules |
| Phoenix framework | Routing, controllers, templates |
| Web development | HTTP requests, responses, HTML, CSS, JavaScript |
If you're new to Elixir or Phoenix, start with these learning resources:
- Elixir docs: https://elixir-lang.org/docs.html
- Phoenix docs: https://hexdocs.pm/phoenix/overview.html
- Tutorials: https://www.phoenixframework.org/tutorials
These will help you build a good base before you start with LiveView.
3. Creating a New Phoenix Project
3.1 Setting Up Your Project
Let's create a new Phoenix project for your LiveView application. Open your terminal and run:
mix phx.new my_app
Replace my_app with your preferred name.
This command creates a new directory with the basic Phoenix structure:
| Directory | Purpose |
|---|---|
lib |
Application code |
test |
Tests |
priv |
Static assets and private files |
config |
Application configuration |
3.2 Adding LiveView to Your Project
To use LiveView, add it to your project:
- Open
mix.exsand add this line to thedepsfunction:
defp deps do
  [
    #...
    {:phoenix_live_view, "~> 0.17.5"},
    #...
  ]
end
- Install the dependency:
mix deps.get
- Set up LiveView in
config/config.exs. Add these lines to theconfigfunction:
config :my_app, MyAppWeb.Endpoint,
  live_view: [
    signing_salt: "your_secret_salt"
  ]
Replace your_secret_salt with a secret of your choice.
You've now set up LiveView in your Phoenix project. Next, we'll look at how LiveView works.
4. LiveView Basics
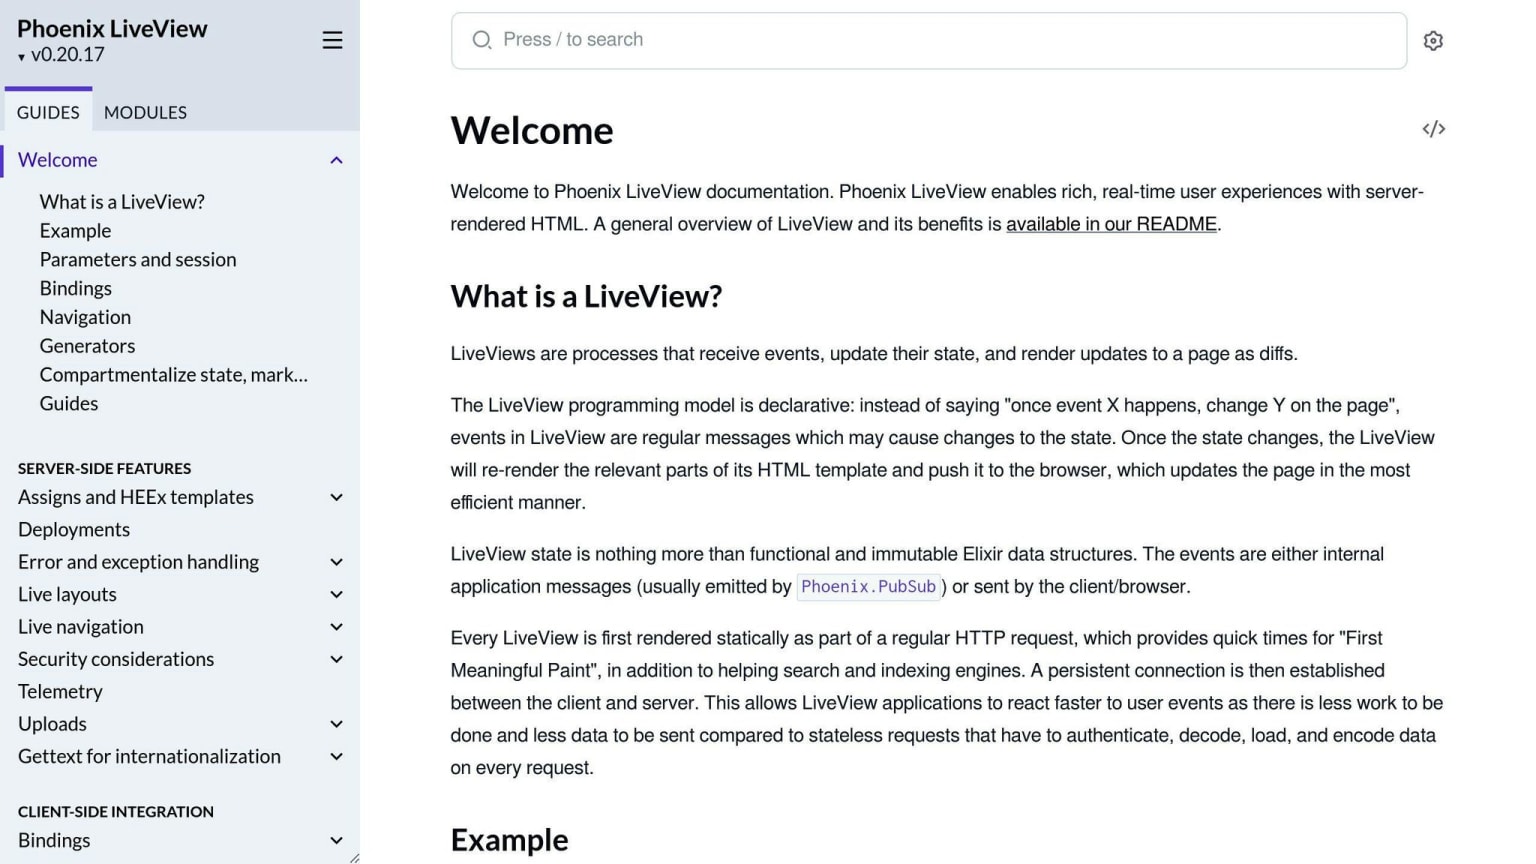
4.1 How LiveView Works
LiveView helps build interactive web apps that update in real-time. Here's how it works:
- User does something (like clicking a button)
- This action changes the app's state
- LiveView updates the relevant parts of the web page
- The browser shows these updates without reloading the whole page
This process makes web apps feel quick and responsive.
| Step | Description |
|---|---|
| 1. Event | User interacts with the app |
| 2. State Change | App's data updates |
| 3. Re-render | LiveView updates affected parts |
| 4. Browser Update | Changes appear on screen |
4.2 Main LiveView Functions
LiveView uses three key functions:
| Function | Purpose |
|---|---|
mount/3 |
Sets up the initial state and view |
handle_event/3 |
Responds to user actions |
render/1 |
Shows the updated view |
These functions work together to create a smooth, interactive experience for users.
5. Building Your First LiveView
5.1 Creating a LiveView Module
To start your first LiveView, make a LiveView module. This module has functions that control how your LiveView works. Here's how to create one:
defmodule MyAppWeb.ThermostatLive do
  use Phoenix.LiveView
  #...
end
5.2 Writing the render Function
The render/1 function shows the HTML for your LiveView. It takes one argument, assigns, which is a map of values for the template.
Here's an example:
def render(assigns) do
  ~H"""
  Current temperature: <%= @temperature %>°F
  <button phx-click="inc_temperature">+</button>
  """
end
This function shows the current temperature and a button to increase it.
5.3 Using ~H for HTML Templates
The ~H sigil helps you write HTML templates. It uses a syntax like HTML.
Example:
~H"""
<div>
  <h1>Hello World!</h1>
  <p>This is a paragraph of text.</p>
</div>
"""
This creates a div with an h1 and a p element inside.
| Function | Purpose | Example |
|---|---|---|
use Phoenix.LiveView |
Sets up LiveView in your module | use Phoenix.LiveView |
render/1 |
Shows HTML for your LiveView | def render(assigns) do ... end |
~H sigil |
Writes HTML templates | ~H"""<div>...</div>""" |
6. Setting Up Initial State
6.1 The mount Function Explained
The mount/3 function in Phoenix LiveView sets up the starting state of your LiveView. It runs when the LiveView first loads and takes three inputs:
| Input | Description |
|---|---|
params |
A map of parameters sent to the LiveView |
session |
The current session |
socket |
The LiveView socket |
Here's a basic example:
def mount(params, session, socket) do
  {:ok, assign(socket, temperature: 20)}
end
This sets the starting temperature to 20 degrees.
6.2 Setting Up Starting Data
You can get data from a database or API in the mount/3 function. Here's how to do it with Ecto:
def mount(params, session, socket) do
  temperature = Repo.get_by(Temperature, id: 1)
  {:ok, assign(socket, temperature: temperature.value)}
end
This gets the temperature with ID 1 from the database and sets it in the socket.
You can also handle errors in mount/3. For example:
def mount(params, session, socket) do
  try do
    temperature = Repo.get_by(Temperature, id: 1)
    {:ok, assign(socket, temperature: temperature.value)}
  rescue
    e in Ecto.NoResultsError ->
      {:ok, assign(socket, temperature: 20)}
  end
end
If the database doesn't have a temperature with ID 1, this sets a default of 20 degrees.
| Function | Purpose |
|---|---|
mount/3 |
Sets up starting state |
assign/2 |
Adds data to the socket |
Repo.get_by/2 |
Gets data from the database |
These tools help you set up your LiveView with the right starting data.
7. Responding to User Actions
7.1 Using handle_event
The handle_event/3 function in Phoenix LiveView responds to user actions. It takes three inputs:
| Input | Description |
|---|---|
event |
Name of the event |
params |
Map of parameters sent with the event |
socket |
LiveView socket |
Here's a basic example:
def handle_event("click", %{"id" => id}, socket) do
  # Handle the click event
  {:noreply, socket}
end
This function runs when a user clicks a button with the event name "click".
7.2 Changing State After User Input
To update the LiveView state after user input, use the assign/2 function:
def handle_event("text-entered", %{"text" => text}, socket) do
  {:noreply, assign(socket, text: text)}
end
This updates the text field in the socket when the user enters text.
You can also send events to the client with push_event/2:
def handle_event("text-entered", %{"text" => text}, socket) do
  {:noreply, push_event(socket, "text-entered", %{text: text})}
end
This sends an event to the client with the name "text-entered" and the entered text.
| Function | Purpose |
|---|---|
handle_event/3 |
Responds to user actions |
assign/2 |
Updates LiveView state |
push_event/2 |
Sends events to the client |
Example:
Let's say you're making a LiveView for users to enter their name and age. When they click "Submit", you want to update the LiveView state:
def handle_event("submit", %{"name" => name, "age" => age}, socket) do
  {:noreply, assign(socket, name: name, age: age)}
end
This code updates the LiveView state with the entered name and age when the user clicks "Submit".
8. Using LiveView Bindings
8.1 What Are DOM Element Bindings?
DOM element bindings in Phoenix LiveView let you connect events to HTML elements. This helps you respond to user actions like clicks or typing, and update your LiveView state.
Bindings use the phx- prefix followed by the event name. For example, phx-click connects a click event to an element. These bindings trigger events on the server, which can then change the LiveView state.
8.2 Common Binding Examples
Here's a table of common bindings:
| Binding | What it does |
|---|---|
phx-click |
Responds to clicks |
phx-submit |
Responds to form submissions |
phx-keyup |
Responds when a key is released |
phx-keydown |
Responds when a key is pressed |
phx-blur |
Responds when an element loses focus |
phx-focus |
Responds when an element gains focus |
You can use these bindings on different HTML elements. For example:
<button phx-click="submit">Submit</button>
This code makes the button trigger a "submit" event on the server when clicked.
You can also use bindings on larger elements:
<div phx-window-keyup="handle-keyup">
  <input type="text" />
  <button>Submit</button>
</div>
This code makes the whole div respond to key releases, triggering a "handle-keyup" event on the server.
9. Working with Forms
9.1 Building and Processing Forms
Forms are key in web apps. Phoenix LiveView makes form handling easy. Here's how to build and process forms in LiveView:
To create a form, use the form function from Phoenix.HTML. This function needs:
- The form's submit URL
- The method (like
:postor:get) - Any extra form attributes
Here's a simple form example:
def render(assigns) do
  ~H"""
  <form phx-submit="submit">
    <input type="text" name="name" />
    <input type="submit" value="Submit" />
  </form>
  """
end
This form has a text input and a submit button. The phx-submit attribute sets the event for form submission.
To handle the form data, use the handle_event function in your LiveView module:
def handle_event("submit", %{"name" => name}, socket) do
  # Process the form data here
  {:noreply, socket}
end
This function takes the event name and form data as inputs. It processes the data and returns a tuple.
9.2 Handling File Uploads
File uploads in LiveView need a bit more work, but it's not too hard. Use the Phoenix.LiveView.Upload module for this.
Here's how to handle a file upload:
def render(assigns) do
  ~H"""
  <form phx-submit="upload">
    <input type="file" name="file" />
    <input type="submit" value="Upload" />
  </form>
  """
end

def handle_event("upload", %{"file" => file}, socket) do
  # Process the file upload here
  {:noreply, socket}
end
This form has a file input and a submit button. The upload event handles the file data.
| Step | Description |
|---|---|
| 1 | Create a form with a file input |
| 2 | Set up an event handler for the upload |
| 3 | Process the file data in the handler |
| 4 | Return a tuple to show the event is handled |
10. Page Navigation
10.1 Changing Pages Without Reloading
Phoenix LiveView lets you change pages without reloading the whole page. This makes your app feel faster. You can use the live_redirect function to do this.
Here's how to use live_redirect:
def handle_event("go_to_next_page", _, socket) do
  {:noreply, live_redirect(socket, to: "/next_page")}
end
This code sends the user to "/next_page" without reloading the page when the "go_to_next_page" event happens.
10.2 Updating vs. Loading New LiveViews
When moving between pages in a LiveView app, you can:
- Update the current LiveView
- Load a new LiveView
| Action | When to Use | How It Works |
|---|---|---|
| Update current LiveView | Small changes | Changes data or layout of current page |
| Load new LiveView | Big changes | Shows a completely new page |
To update the current LiveView:
def handle_event("update_page", _, socket) do
  {:noreply, update(socket, :page_data, &Map.put(&1, :new_data, "new value"))}
end
This code changes the page_data when the "update_page" event happens.
To load a new LiveView, use live_redirect as shown earlier.
Choose between updating and loading based on how much the page needs to change. For small changes, update the current LiveView. For big changes, load a new one.
11. Organizing Your Code
11.1 Using Function Components
As your Phoenix LiveView app grows, it's important to keep your code tidy. Function components help with this. They are small, reusable pieces of code that do specific tasks.
To make a function component in Phoenix LiveView, use the defcomponent macro:
defcomponent MyComponent do
  def render(assigns) do
    ~H"""
    <div>
      <h1>Hello, World!</h1>
    </div>
    """
  end
end
You can use this component in your LiveView templates like this:
~H"""
<div>
  <%= MyComponent.render(%{}) %>
</div>
"""
Function components help you:
- Break big templates into smaller parts
- Reuse code in different parts of your app
11.2 Working with LiveComponents
LiveComponents are special function components for Phoenix LiveView apps. They can update on their own when your app's data changes. This makes them good for showing real-time updates.
To make a LiveComponent, use the def live_component macro:
def live_component MyLiveComponent do
  def render(assigns) do
    ~H"""
    <div>
      <h1>Hello, World!</h1>
    </div>
    """
  end

  def update(assigns, socket) do
    # Update the component state here
  end
end
You can use this LiveComponent in your templates like this:
~H"""
<div>
  <%= MyLiveComponent.render(%{}) %>
</div>
"""
Here's a table comparing Function Components and LiveComponents:
| Feature | Function Components | LiveComponents |
|---|---|---|
| Updates | Manual | Automatic |
| State | No built-in state | Has its own state |
| Use case | Simple, static parts | Dynamic, data-driven parts |
| Performance | Lighter weight | Slightly heavier |
LiveComponents are useful for making interactive parts of your app that change often.
12. Tips for Better LiveView Apps
12.1 Improving Performance
Here are some ways to make your Phoenix LiveView app run faster:
| Tip | How to do it |
|---|---|
| Make database queries better | - Use fewer queries - Don't load too much data at once - Use pagination - Use caching |
| Use caching | - Store often-used data - Use tools like Cachex or ConCache |
| Make templates simpler | - Avoid complex calculations in templates - Use template caching - Use partials |
| Use LiveView's built-in tools | - Use diffing and patching features |
12.2 Finding and Fixing Errors
Here's how to spot and fix problems in your Phoenix LiveView app:
| Method | What to do |
|---|---|
| Use browser developer tools | - Check the console for errors - Look at network requests and responses |
| Use Phoenix debugging tools | - Try the debugger - Use the logger |
| Test your app well | - Write tests with ExUnit and Wallaby |
| Use error tracking tools | - Try Sentry or Rollbar - Watch your app's performance - Fix errors quickly |
These tips will help you make your LiveView app run better and fix problems faster.
13. Wrapping Up
13.1 Key Points to Remember
Here are the main things to keep in mind as you finish this guide to Phoenix LiveView:
| Point | Description |
|---|---|
| LiveView's purpose | Makes real-time, interactive web apps |
| Core concepts | mount, handle_event, and render functions |
| Built-in features | Use diffing and patching for better performance |
| Best practices | Use caching, pagination, and simple templates |
| Testing and fixing | Try ExUnit, Wallaby, and the debugger |
13.2 Where to Learn More
To keep improving your Phoenix LiveView skills, check out these resources:
| Resource | What it offers |
|---|---|
| Official docs | Full guide with tutorials and examples |
| Online groups | Connect with other developers, ask questions |
| Blogs and guides | Learn new tips and methods |
| Books and classes | Deep dive into LiveView and web development |
| Open-source projects | Get hands-on experience |
These tools will help you build better LiveView apps and solve problems faster.
What's new in Phoenix LiveView and common gotchas
LiveView version in this guide. The mix.exs dependency in this guide specifies ~> 0.17.5. LiveView has had major releases since then — verify the current stable version on Hex.pm before adding the dependency. The API for core concepts covered here (mount, handle_event, render, bindings) has remained stable, but some details around streams, async assigns, and navigation have been added or changed in later releases.
Streams for large lists. A significant addition since earlier LiveView versions is Phoenix.LiveView.stream, which efficiently renders large or frequently-updated lists without sending the full list to the client on every update. If you are building a dashboard, a feed, or any view with a growing list of items, streams are the current recommended approach rather than storing the entire list in assigns.
Async assigns (assign_async and start_async). Loading data asynchronously in mount without blocking the initial render is now supported natively with assign_async. This replaces the older pattern of sending a message to self in mount to trigger a deferred data load. If you see tutorials using send(self(), :load_data) in mount, that pattern still works but assign_async is cleaner and preferred.
defcomponent is not a standard macro. The code example in the organizing section uses defcomponent MyComponent do — this is not a built-in Phoenix macro. Function components in Phoenix LiveView are defined as plain functions using the ~H sigil within a module, decorated with attr and slot macros for typed props. Verify component syntax against the current HexDocs for your LiveView version.
Common runtime errors. The errors new LiveView developers hit most often: (KeyError) key :field not found usually means an assign is missing from the socket and the template is trying to access it before it is set — ensure all keys used in the template are assigned in mount. function MyAppWeb.MyLive.render/1 is undefined means you forgot to define the render function or the module name does not match the file path. WebSocket disconnects during development are usually caused by the code reloader; they resolve on reconnect and do not indicate a bug in your code.
FAQs
What is the difference between Phoenix and Phoenix LiveView?
Phoenix and Phoenix LiveView are two tools for building web apps. They work differently:
| Feature | Phoenix | Phoenix LiveView |
|---|---|---|
| Request handling | Each HTTP request uses a new process | One process handles a WebSocket connection |
| Page updates | Full page reload needed | Real-time updates without reload |
| Best for | Traditional web apps | Interactive, real-time apps |
Here's how they work in practice:
Phoenix:
- User submits a form
- Server processes the request
- Server updates the database
- Server sends a new HTML page to the client
- Client's browser loads the new page
LiveView:
- User submits a form
- Server processes the request
- Server updates the database
- Server sends only the changed data to the client
- Client's page updates without reloading
LiveView is good for making web apps that need to show changes right away, like:
- Live dashboards
- Team editing tools
- Online games
These apps work better with LiveView because it can update parts of the page quickly without loading a whole new page.