
A guide on creating Chrome extensions for writing productivity. Learn about building, testing, and publishing extensions using HTML, CSS, and JavaScript.
Creating Chrome extensions is a powerful way to enhance your browsing experience, especially for tasks like writing and research. Here's a quick guide on getting started:
- Understand Chrome Extensions: Small programs made with HTML, CSS, and JavaScript to add features to your browser.
- Why Create Writing Extensions: They can help improve focus, research, organization, and editing for a smoother writing process.
- Setting Up: You'll need basic web development knowledge, a code editor, and the Google Chrome browser.
- Building Blocks: Learn about the manifest file, background scripts, content scripts, and user interfaces.
- Advanced Features: Utilize Chrome APIs for more complex tasks and interactions with web pages.
- Best Practices: Focus on designing user-friendly interfaces, ensuring security and privacy, and optimizing performance.
- Testing and Debugging: Use Chrome’s Developer Tools to test, debug, and refine your extension.
- Publishing: Prepare your extension for publication and navigate the Chrome Web Store's submission process.
Whether you're a seasoned developer or new to web development, creating Chrome extensions is an accessible way to contribute useful tools for writers and other users.
What are Chrome Extensions?
Chrome extensions help you do more with your Google Chrome browser. They are like small programs made using website building blocks - HTML, CSS, and JavaScript. Here's what you need to know:
- They're made with the same stuff websites are, so if you know how to build a website, you're good to go.
- They have different parts, like a manifest file (a list of what the extension needs and does), background scripts (code that runs in the background), and UI elements (things you can see and click on in the browser).
- You can add buttons or menus to Chrome with them, making your tools easy to access.
- They can do a lot thanks to Chrome APIs, which let them interact with web pages, save information, and more.
- People get these extensions from the Chrome Web Store, making it easy to find and add new tools to Chrome.
In short, Chrome extensions let you mix your code into Chrome to make browsing better. There's a lot you can do with them!
Why Develop Writing Productivity Extensions?
If you write a lot or make websites, you know how much time you spend in your browser. Extensions that help with writing can make a big difference. Here's why making extensions for writers is a great idea:
- Focus better: Some extensions can block distractions or silence notifications to help you concentrate.
- Make research easier: Tools that let you highlight text, save bits of information, or open documents quickly can streamline how you gather information.
- Stay organized: Extensions that save your work automatically, help you tag and note things, or keep track of time can help keep everything in order.
- Edit smoothly: Tools that check your spelling, save your work, or expand text automatically can make editing less of a hassle.
- Quick access: Having resources or writing prompts just a click away can help you stay in the zone.
- Work faster: Automating repetitive tasks or making it easier to access your favorite tools can speed up your writing.
By using the Chrome extension framework, you can create all sorts of tools to tackle common writing challenges. It's a great way to help writers do their best work.
What this guide covers
This guide walks through building Chrome extensions using Manifest V3: setting up your development environment, creating a manifest file, writing background service workers and content scripts, building popup UIs, using Chrome APIs (Storage, Tabs, Notifications, WebRequest), and publishing to the Chrome Web Store. It covers testing with Chrome DevTools and common issues you will encounter along the way.
Setting Up Your Development Environment
Prerequisites
Before you start making Chrome extensions, you need a few things:
- Understanding of HTML/CSS/JavaScript: These are the basic languages for making websites and extensions. Knowing how to use them is crucial.
- A code editor: While you can use simple programs like Notepad, it's better to choose something made for coding, like Visual Studio Code. It makes your work easier.
- Google Chrome browser: Since extensions work in Chrome, you must have it to build and try out your projects.
That's all you need to begin. Later on, you might find tools like Git and Node.js useful, but to start, the above are enough.
Installing Necessary Tools
Here’s how you get ready to build your extension:
- Get a code editor: Download something like Visual Studio Code. It's where you'll write your extension's code.
- Turn on developer mode in Chrome: Open Chrome's settings, find Extensions, and switch on Developer mode. This lets you add your own extensions to Chrome.
- Make a folder for your extension: Call it anything you like, such as
my-extension, and keep all your extension's files there. - Create the manifest file: This file tells Chrome about your extension. Name it
manifest.jsonand put in important details like the extension's name, version, and what permissions it needs. - Start coding: Make your HTML, CSS, and JavaScript files. To see how they work, go to Chrome, click "Load unpacked," and choose your extension's folder.
- Fix any mistakes: Use Chrome's tools to find and solve problems. Keep updating your extension and testing it.
And that's it! With these steps, you're ready to make your own Chrome extensions. Now you can start creating features to improve your Chrome experience.
Building Your First Chrome Extension
Creating your own Chrome extension can feel a bit complex at first, but if you take it step by step, you'll soon be adding cool features to your browser. Let's go through making a simple extension together to get the hang of it.
Creating the Manifest File
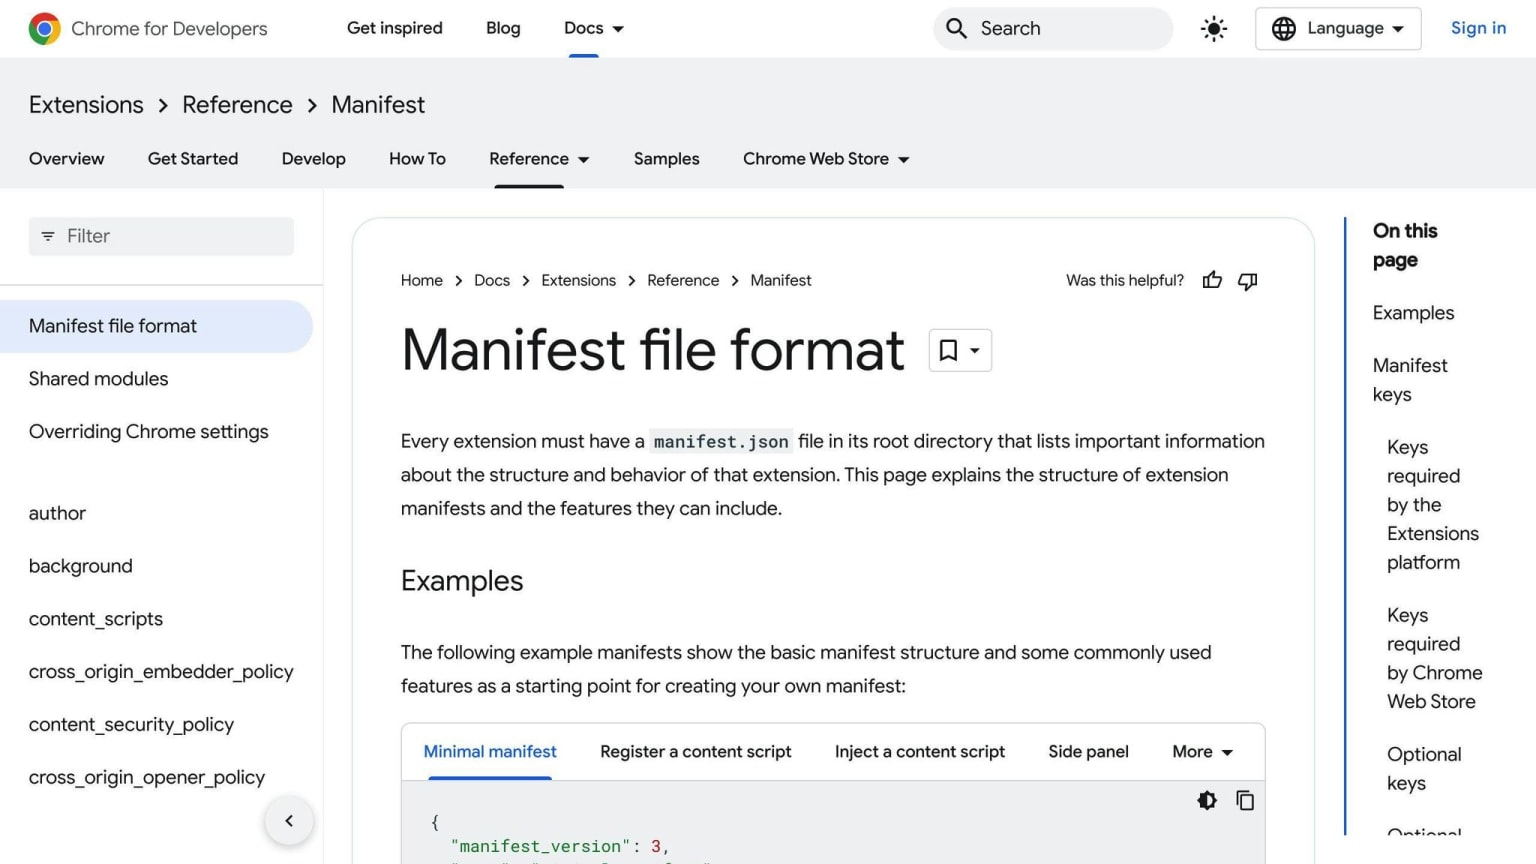
Every extension needs a manifest.json file. It's like an ID card for your extension, telling Chrome what it's called, what version it is, and what it can do. Here's a simple example:
{
  "name": "My First Extension",
  "version": "1.0",
  "manifest_version": 3,
  "permissions": ["tabs"]
}
nameandversionare pretty straightforward — they tell the name and version of your extension.manifest_versionis about making sure your extension works with the current Chrome.permissionsare like asking permission to use certain parts of Chrome, like tabs.
You can find more details in the official documentation.
Developing Background Scripts
Background scripts are like the behind-the-scenes crew of your extension. They listen for things to happen and then act. For example, here's a script that does something when you click the extension's icon:
chrome.action.onClicked.addListener(() => {
  // Do something
});
The background.service_worker.js file is where these scripts live, acting as a service worker to keep an eye on events.
Implementing Content Scripts
Content scripts let your extension chat directly with a webpage. For instance, if you want to play with the text on a page, you might use this:
// content.js
const paragraphs = document.getElementsByTagName('p');
// Do stuff with paragraphs
The content_scripts part of your manifest file tells Chrome when and where to use these scripts.
Adding a User Interface
Popups are a simple way to add buttons or other interactive elements. For example, popup.html opens a small window when you click your extension's icon:
<!-- popup.html -->
<button id="myButton">Click me!</button>

<script src="popup.js"></script>
The action part of your manifest connects this popup with your extension's button.
That's the basic idea - for more detailed instructions, check out the official developer guide.
Advanced Features and APIs
Utilizing Chrome APIs
Chrome offers a bunch of tools (APIs) that let your extensions do more cool stuff with the browser. Here are some important ones for writing extensions:
- Tabs API: Helps you manage tabs - open new ones, change what's in them, and more. Great for opening lots of tabs for research.
- Storage API: Lets you save and get data, like user settings. Very important for keeping user preferences.
- Content Settings API: Allows you to set rules for how content (like images or JavaScript) is handled. Good for making a distraction-free reading mode.
- WebRequest API: Lets you check and change network requests. This can be used to block ads or change page content.
- Notifications API: You can make notifications pop up. Useful for reminders.
You can find more info on these in the official documentation. Pick the APIs that help your extension do what it needs to.
Interacting with Web Pages
Content scripts let you add your own JavaScript to web pages to change stuff. Here's how:
- You can wrap text in special tags to make it stand out, like for highlighting important parts.
- Change parts of the page automatically by looking for specific things and changing them.
- Catch when users select text and do something cool, like making notes.
- Add your own buttons or info boxes right on the page.
Just make sure whatever you do doesn't annoy the user. Keep it helpful and not too in-your-face.
Storing and Managing Data
The Storage API is like a filing cabinet for your extension's data:
- chrome.storage.sync keeps data the same across all devices. Great for settings.
- chrome.storage.local keeps data just on one device. Good for stuff you don't need to keep forever.
- You can save data like text, numbers, lists, and more.
- Use
chrome.storage.onChangedto do something when the data changes.
Here's a simple example:
chrome.storage.sync.set({fontSize: 14}, () => {
  console.log('Font size saved');
});

chrome.storage.onChanged.addListener((changes) => {
  // Do something when data changes
});
Check the official guide for more details on how to use this.
Best Practices in Extension Development
Designing a User-Friendly Interface
When making the look and feel of your extension, aim for something easy to use, doesn't get in the way, and helps users do things faster. Here are some pointers:
Use simple and clear icons: Make sure your icons make sense at a glance. Try them out with people to see if they understand.
Design an intuitive flow: Put things in an order that makes sense for how someone would use them. Keep similar items together.
Provide helpful instructional text: Use tips, hints, and guides to explain how things work.
Allow for customization: Give users the option to turn off features they don't want. Flexibility is key.
Avoid clutter: Only show things when they're needed. Use smooth changes to add or remove items.
Test with users: Real feedback is invaluable. Adjust based on what users tell you about your extension.
Ensuring Security and Privacy
Keeping your extension safe and respecting user privacy is super important. Here's how:
- Minimize permissions: Only ask for what you really need. Check your permission needs often.
- Validate all inputs: Make sure any data you get from outside is clean and safe before using it.
- Use identifier best practices: Try to keep user information as private as possible. Use less identifiable data when you can.
- Enable CSP: This helps stop attacks and makes your extension safer. It's a good security step.
- Undergo security audits: Check your code for any weak spots regularly. Fix any problems fast.
- Clearly communicate privacy practices: Be open about what data you collect and why. Let users choose what they share.
Performance Optimization
To make sure your extension runs smoothly and quickly, follow these tips:
Minify resources: Make your code shorter without changing what it does. This makes files smaller.
Enable compression: Use tools to make your files smaller before sending them over the internet.
Limit blocking calls: Stay away from things that slow down your extension, like certain requests or heavy tasks.
Debounce rapid events: When something happens a lot, like typing, group these events together to handle them better.
Use Chrome extension APIs: These special tools are made for extensions and can help with performance.
Split code: Organize your code into separate parts that can be loaded when needed. Use tricks to load important stuff first.
Analyze performance: Use tools like Lighthouse and Chrome DevTools to find and fix any slow spots.
Testing and Debugging Your Extension
Using Chrome's Developer Tools
Chrome's Developer Tools are built right into the browser to help you test and fix your extension. They give you a peek under the hood to spot issues easily. Here's what you can do with them:
- Inspection tools: Look at your extension's files, resources, storage, and more to spot errors right in the code.
- Console logging: Write messages in the console to check values or to see if parts of your extension are working as they should.
- Breakpoints: Stop your code at certain points to walk through it step by step. This helps you see what's happening at each stage.
- Network analysis: Look at network requests to make things load faster. Find out which tasks are taking too long.
- Performance audits: Get tips on making your extension run smoother. Identify resources that need to be made more efficient.
- Simulation tools: Test how your extension works on different devices, with various internet speeds, and in other conditions.
To open Developer Tools for your extension, right-click its icon in Chrome and choose "Inspect." You can also press Shift+Ctrl+I (Windows/Linux) or Shift+Cmd+I (Mac).
Check out the official documentation for more tips on using these tools.
Common Issues and How to Solve Them
Here are some common problems you might face and how to fix them:
- Extension not loading: Look in the console for errors. Make sure your manifest file is correct and the extension ID matches everywhere it's mentioned.
- Code not doing anything: Make sure your scripts are listed in the right place in the manifest file and that you have the right permissions.
- Buttons not responding: Check for errors and make sure the button ID and the function it calls match. Also, verify that service workers are set up right.
- APIs not working: Double-check you have the right permissions in your manifest file. Make sure you're using the API correctly and handling responses the right way.
- Storage issues: Use Developer Tools to look at storage and find problems. Make sure you're using the storage APIs correctly and have the right permissions.
- Slow performance: Look for ways to make things faster. Avoid things that block your extension, shrink your files, and check how your extension does with slow internet.
Learning to use Chrome's tools and figuring out problems efficiently is key. Pay attention to console logs and error messages, break down issues step by step, and always check the official developer guides when you're stuck.
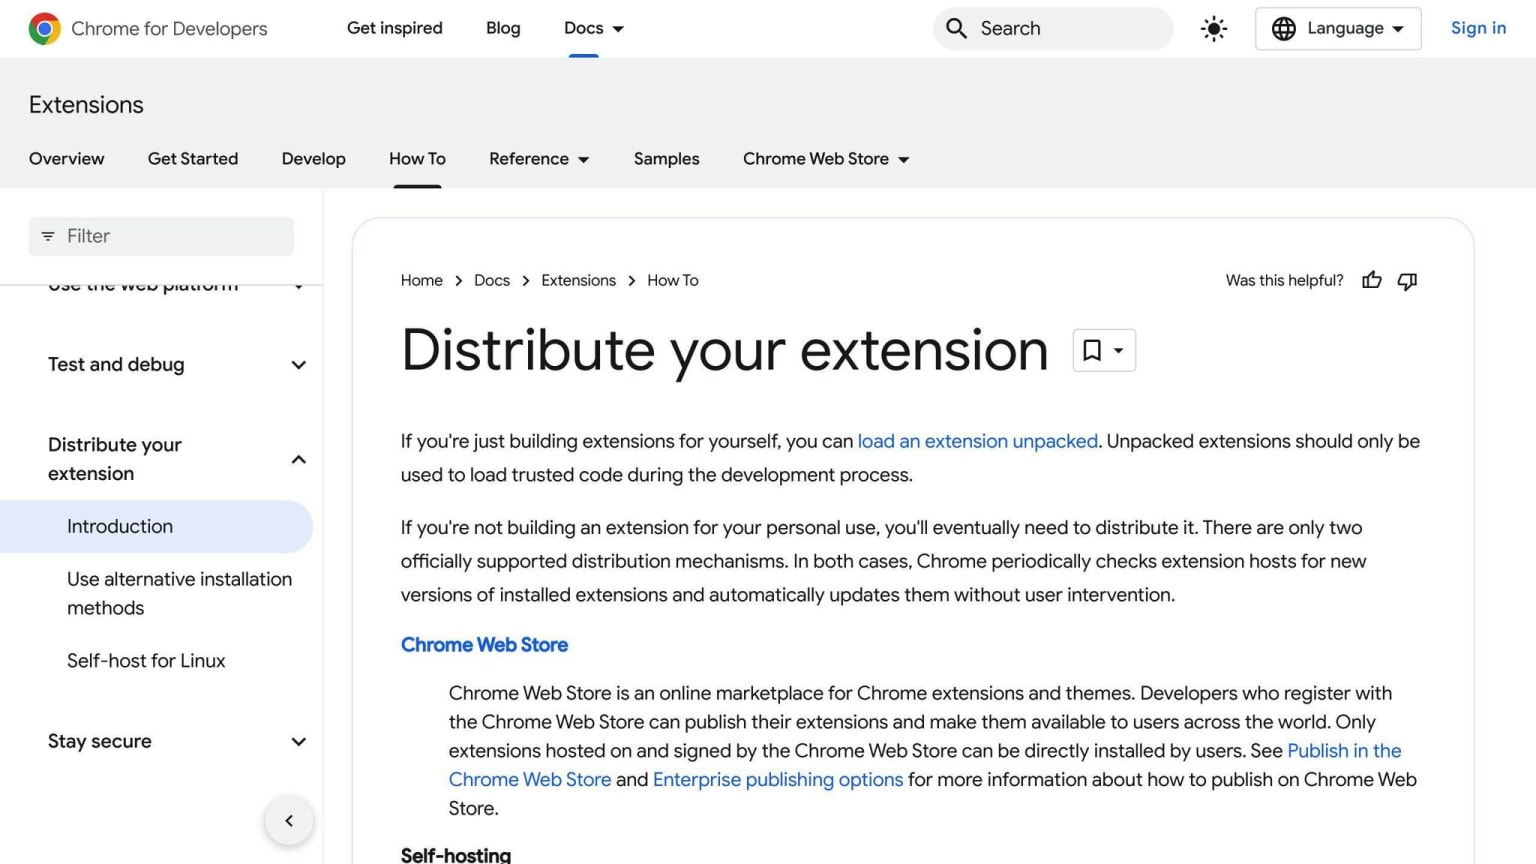
Publishing Your Extension
Preparing for Publication
Before you share your extension on the Chrome Web Store, make sure it's completely ready. Here's a quick list to help you check everything:
- Test a lot: Use your extension on various websites and devices. Fix any bugs you find.
- Make it fast: Ensure your extension loads quickly and runs smoothly. Make files smaller and organize your code well.
- Check permissions: Only keep the permissions you really need. Tell users why these permissions are necessary.
- Focus on security: Use security measures like CSP, check your inputs, keep user data safe, and fix any security gaps.
- Improve the user interface: Make menus easier to use, remove features that aren't needed, and make sure users can understand how to use your extension.
- Write a clear description: Use simple language to explain what your extension does. Include pictures or videos if you can.
- Follow the rules: Make sure you're not breaking any Chrome Web Store policies to avoid having your extension rejected.
Taking time to polish your extension will make users happy and help it get approved without issues.
Navigating the Chrome Web Store's Submission Process
When you're ready to share your extension with the world, here's what you need to do:
- You'll need a Google account and to pay a small $5 fee to publish extensions.
- Go to the Chrome Developer Dashboard to manage your extensions.
- Click "Add new item" and upload a zip file of your extension's code and images.
- Fill in the details about your extension, like its name, what it does, and some pictures or videos. This helps people understand your extension.
- Choose if you want to charge for your extension and where it should be available. Don't forget to add an email so users can reach out to you.
- Hit "Publish" to send your extension for a quick check. This process makes sure your extension follows the rules and might take a few hours.
- Once it's approved, your extension will be available for everyone! You can update it, see how it's doing, and talk to users anytime.
For more detailed help, check the official publishing guide. With the right preparation, publishing your extension is easy!
Manifest V3: what changed and common migration issues
All Chrome extensions are now required to use Manifest V3 (MV3). If you are working from older tutorials or maintaining an existing extension that still references manifest_version: 2, this section covers what changed and the issues you are most likely to hit.
Background scripts became service workers. MV3 replaced persistent background pages with service workers. Service workers do not run continuously — they start when needed and are terminated when idle. If your extension relied on keeping state in a background page (global variables that persist between events), you need to migrate that state to chrome.storage instead, because the service worker can restart at any time and variables will not persist between activations.
webRequest blocking requires a different permission. The blocking form of the Web Request API (webRequestBlocking) is restricted in MV3. Extensions that need to block or modify network requests must use the Declarative Net Request API (declarativeNetRequest) instead. This is a meaningful architectural change for ad blockers and privacy tools, but for most writing productivity extensions it is not relevant.
chrome.action replaces chrome.browserAction and chrome.pageAction. MV3 unified browser and page actions into a single chrome.action API. Any code referencing chrome.browserAction or chrome.pageAction needs to be updated.
Content Security Policy format changed. MV3 uses a different format for the content_security_policy field in manifest.json — it is now an object with extension_pages and sandbox keys rather than a flat string. If you copied a CSP from an MV2 example, verify the format against the current manifest documentation.
Testing MV3 service workers. To inspect a background service worker in Chrome, go to chrome://extensions, find your extension, and click the "service worker" link next to it. This opens DevTools scoped to the service worker, which is where you will see console output and errors from background code.
Conclusion
Building Chrome extensions might seem tough at first, but if you tackle it one step at a time, anyone can create tools that solve problems or make things easier for others. The best approach is to start with something simple, like a basic popup, and add more features as you learn more.
In this guide, we've gone over everything you need to know to make awesome writing extensions, including:
- What extensions can do: They can do a lot, like help writers stay focused or make research a breeze. There's a lot of potential to make writing easier.
- The technical bits: You'll need skills in HTML, CSS, and JavaScript, and you'll need to understand things like manifest files, service workers, and content scripts that make extensions work.
- Where to get help: Chrome has a bunch of guides, tools, and APIs to help you out. They've got a whole ecosystem set up for developers.
- Best practices: Making sure your extension is safe, fast, user-friendly, and follows Chrome Web Store rules is key to keeping users happy.
- Testing and sharing: Chrome's debugging tools and a simple process for sharing your extension make it easy to get it out there.
With the basics covered here, you can start thinking about what problems you want to solve or what interests you want to support. There are endless possibilities - there's so much you can create with the skills we've talked about! Don't worry about starting small, learning as you go, and asking the Chrome developer community for help when you need it.
If you end up making an extension that makes your life or other writers' lives easier, think about sharing it on the Chrome Web Store when it's ready. The world could always use more tools that help people do their best creative work. Who knows, yours might become the next big thing for writers everywhere!
Related Questions
How do I write Chrome extension code?
Here's a simple way to start writing code for a Chrome extension:
- Make a new folder on your computer and name it after your extension.
- Create a
manifest.jsonfile in this folder. This file tells Chrome what your extension is about and what permissions it needs. - Start coding with HTML, CSS, and JavaScript to make the parts of your extension, like:
- Popups or settings pages
- Background scripts for handling events
- Content scripts that let your extension interact with web pages
- Test your extension by loading it into Chrome to see how it works.
- Keep tweaking and fixing your code until everything works just right.
You can find step-by-step guides and more details in the official documentation. If you're comfortable with making websites, you'll find creating extensions pretty straightforward.
How are Chrome extensions written?
Chrome extensions are made using the same stuff you'd use to build a website:
- HTML for the structure
- CSS for making it look good
- JavaScript for adding actions and features
Plus, they need a manifest.json file that gives Chrome the lowdown on what the extension does and what permissions it needs.
In a nutshell, Chrome extensions are like mini web apps that add more features to your browser. If you know how to create a website, you're well on your way to making a Chrome extension!
What is the Chrome extension to create a step-by-step guide?
Scribe is a handy Chrome extension that lets you make step-by-step guides by just doing things in your browser.
It captures screenshots and notes your actions as you go. Once you're done, it puts everything together into a neat guide you can share. It's a great tool for showing others how to use web tools or navigate websites without a lot of fuss.
Is it hard to write a Chrome extension?
Making a Chrome extension isn't too hard, especially if you're already familiar with basic web development. Here's what you need:
- A good grasp of HTML, CSS, and JavaScript
- An understanding of how extensions work and what you can do with them
- Knowing how to use browser tools to test and fix your code
The learning process is pretty smooth. Start with something simple, like a popup, and then add more features as you get more comfortable. There's a ton of help available in documentation and from the community if you get stuck.
With a bit of practice and patience, writing a Chrome extension is definitely doable, even if you're new to coding for browsers.